When the price of 40W Chinese laser cutters fell below $375 on eBay, I knew that I wouldn’t be able to resist buying one. There are hidden costs that make the complete setup price higher. Still, I couldn’t wait to get my hands on one. I had used a similar laser at the Dallas Maker Space in it’s early days. I had an understanding of what was required and the machine’s capabilities. Basically, you have a work area slightly bigger than an 11″ x 8.5″ letter size of paper, and can cut/engrave typical non-metal materials up to a thickness of about 1/4″. The controller provided with the laser locks you into fairly buggy software, however it is good enough to engrave and cut projects once you climb a short but steep learning curve.
Purchase:
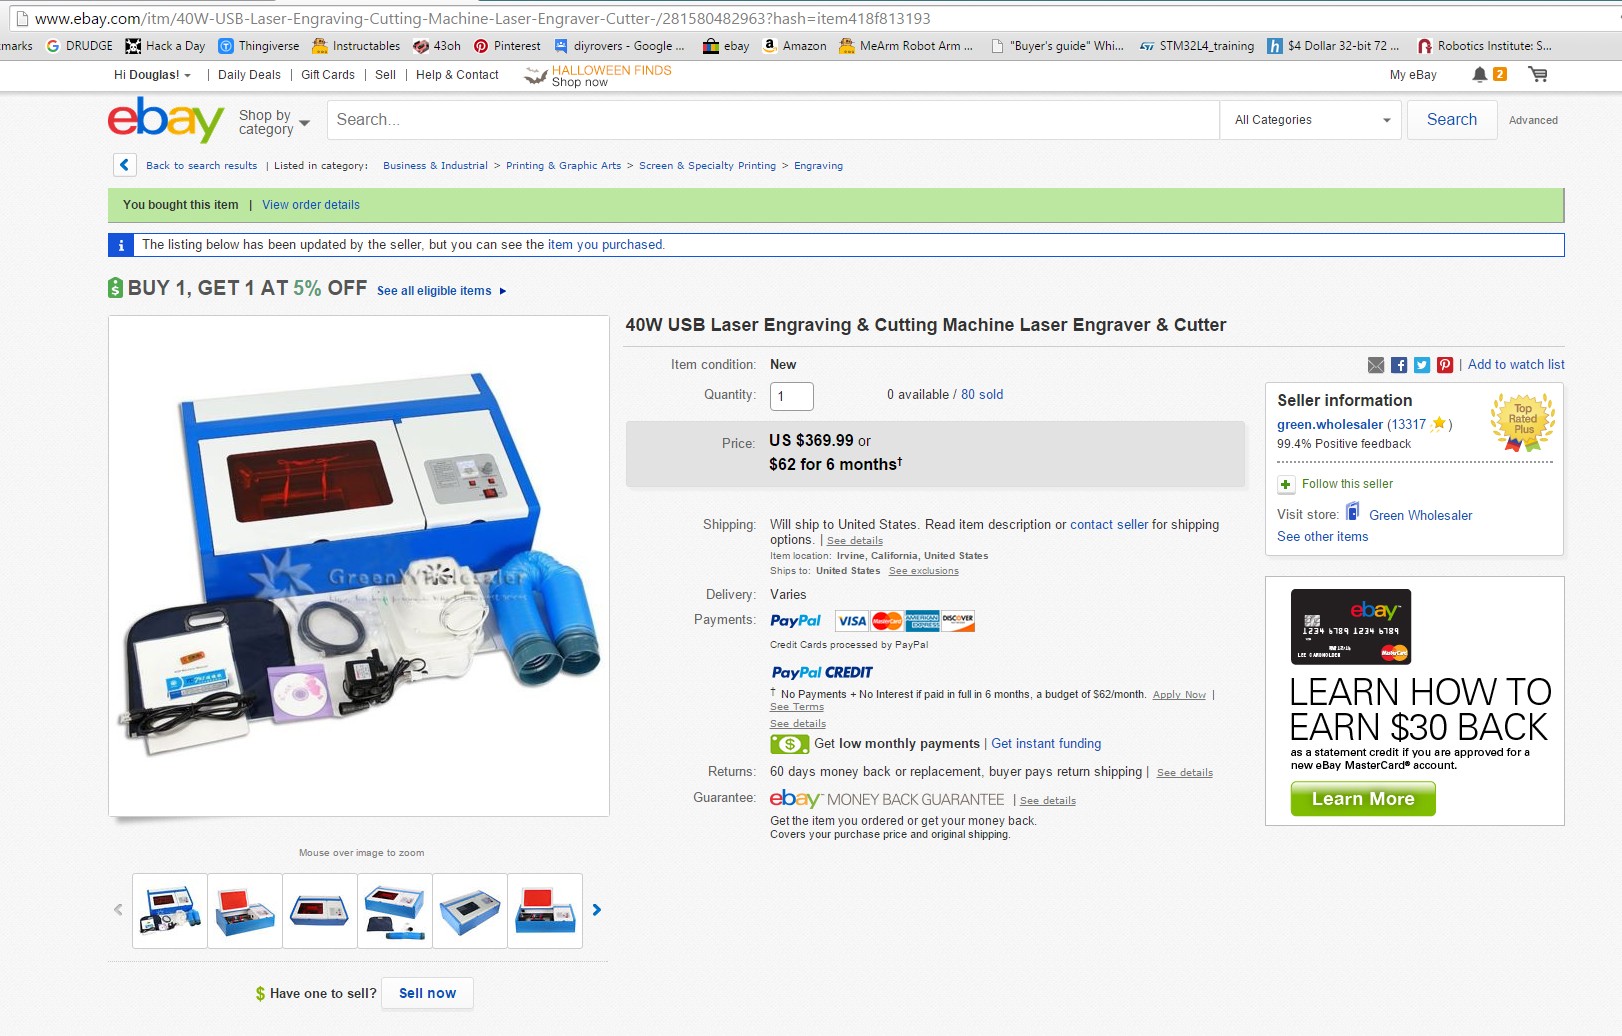
I purchased my laser from eBay dealer green-wholesaler who has the units staged in California. The shipping costs are minimal or included in the price. Here is an image of the vendor’s current offering (10/12/15).
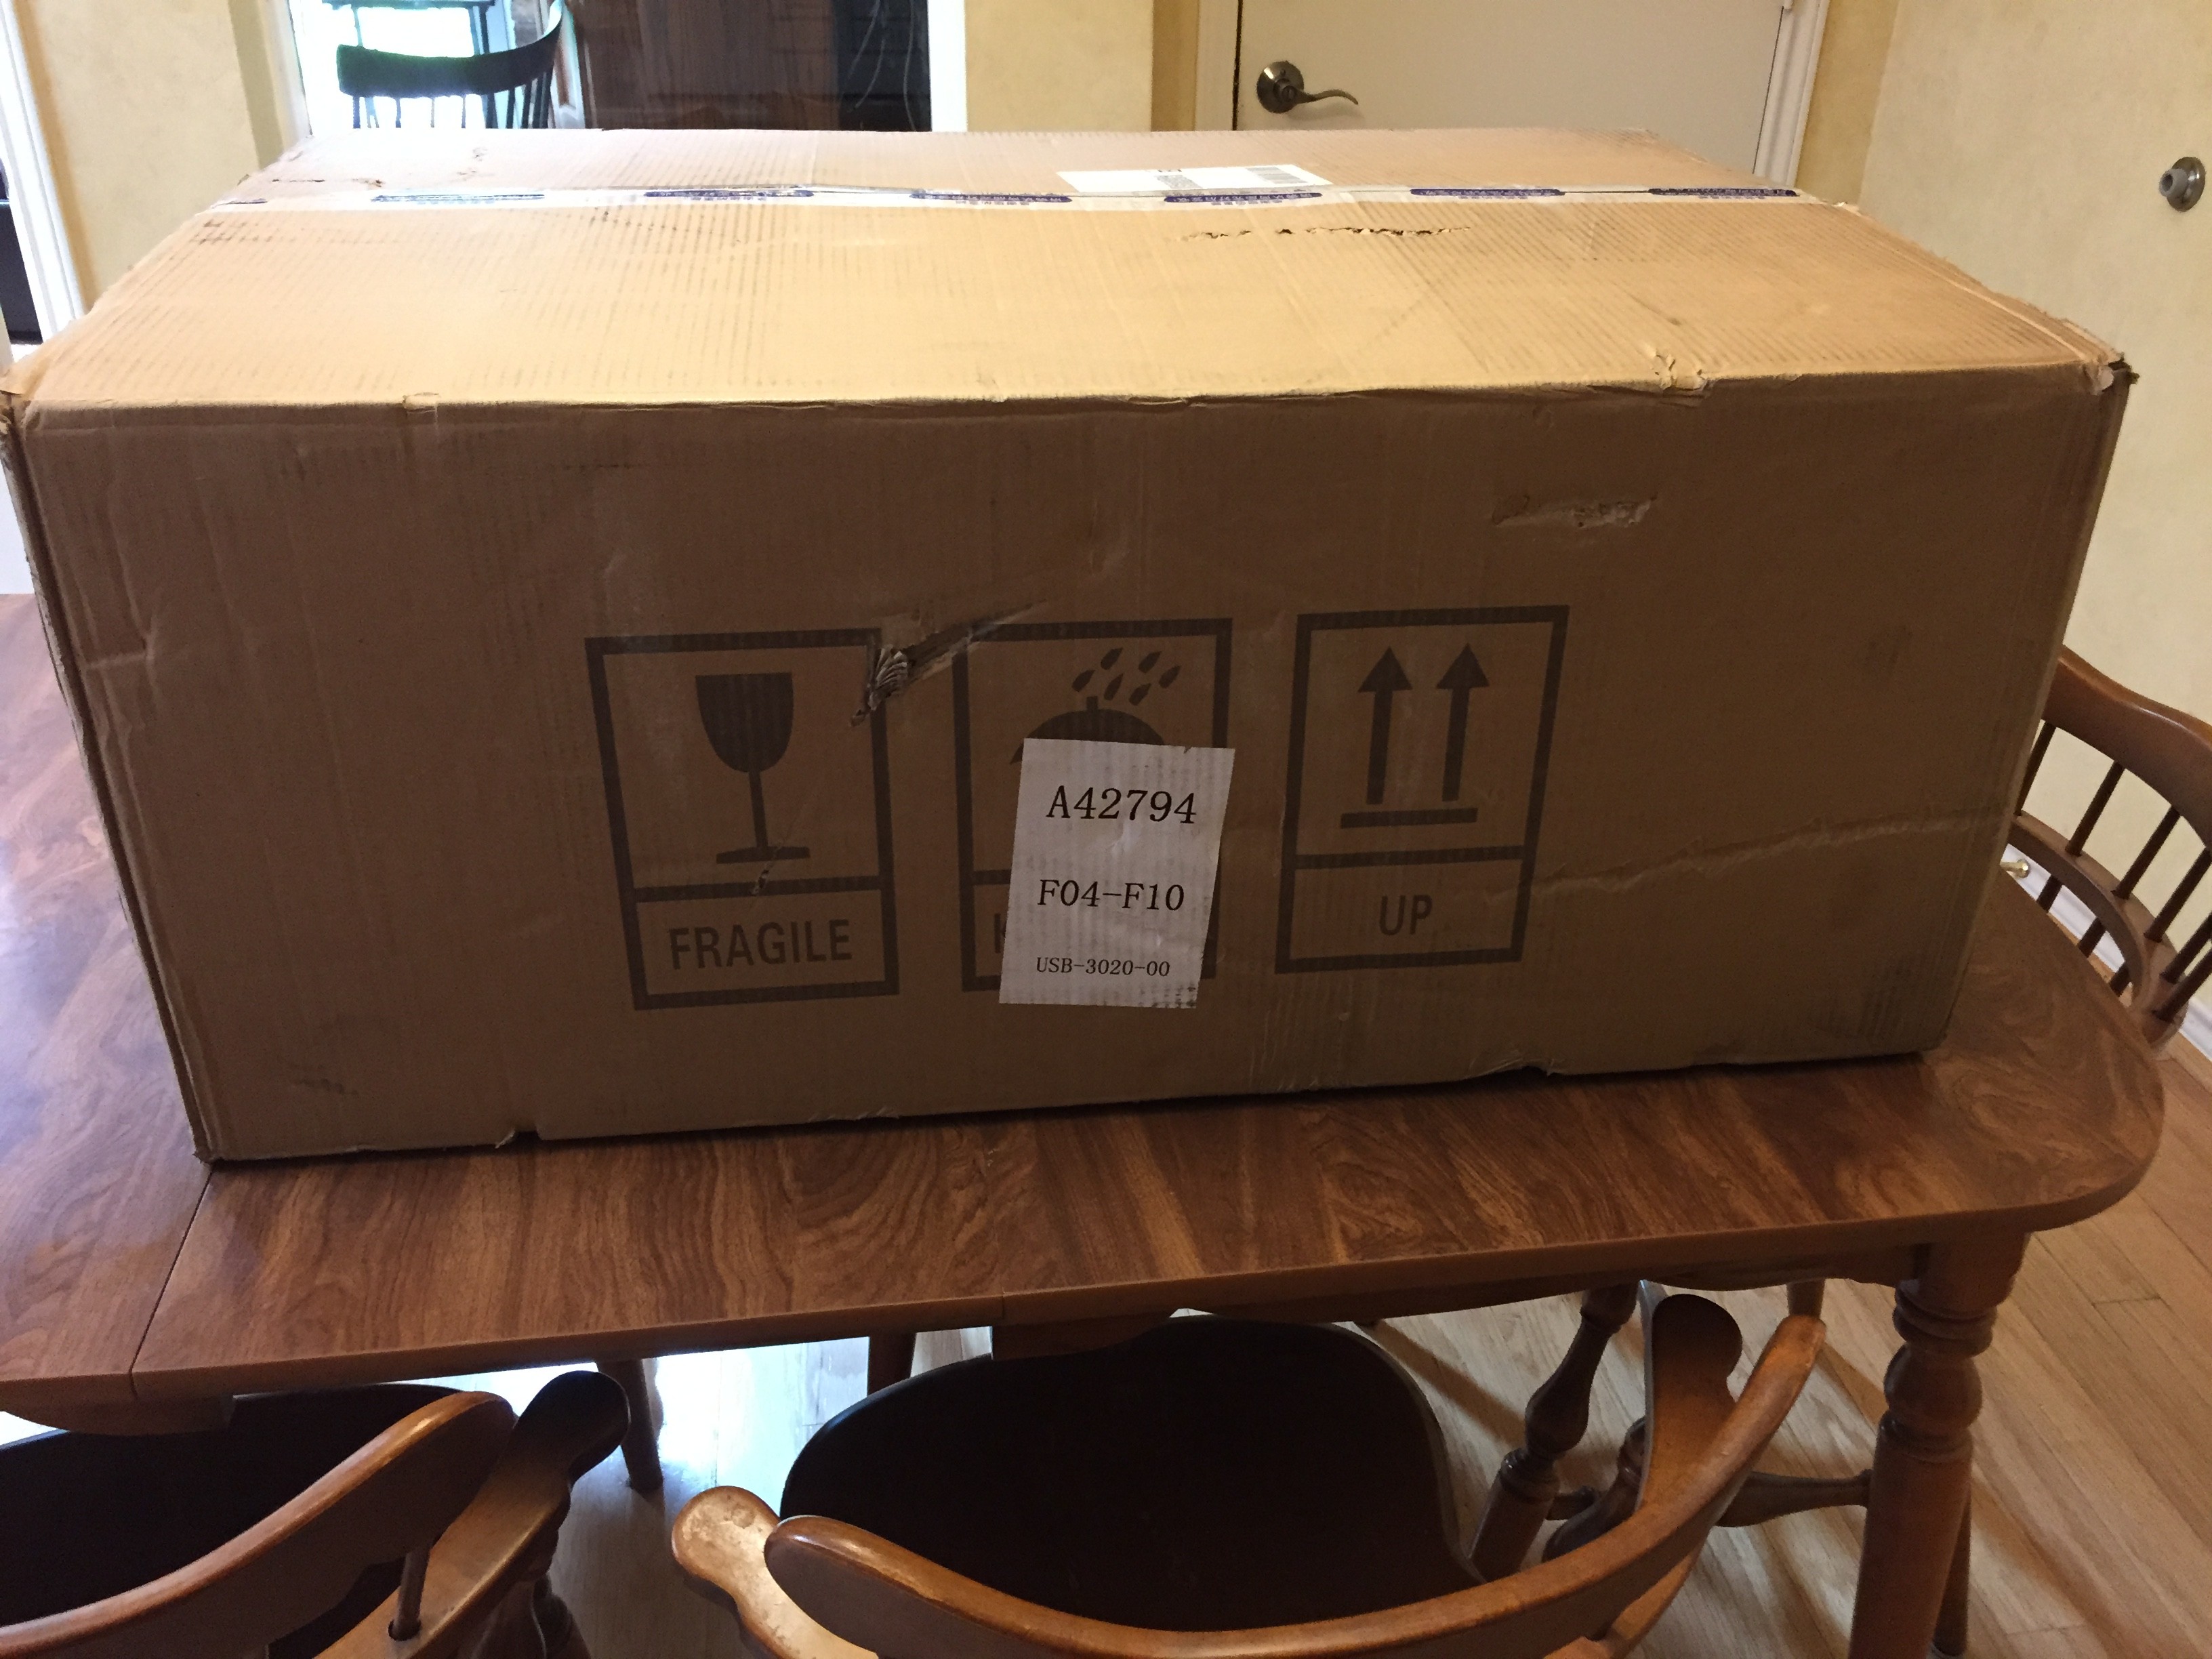
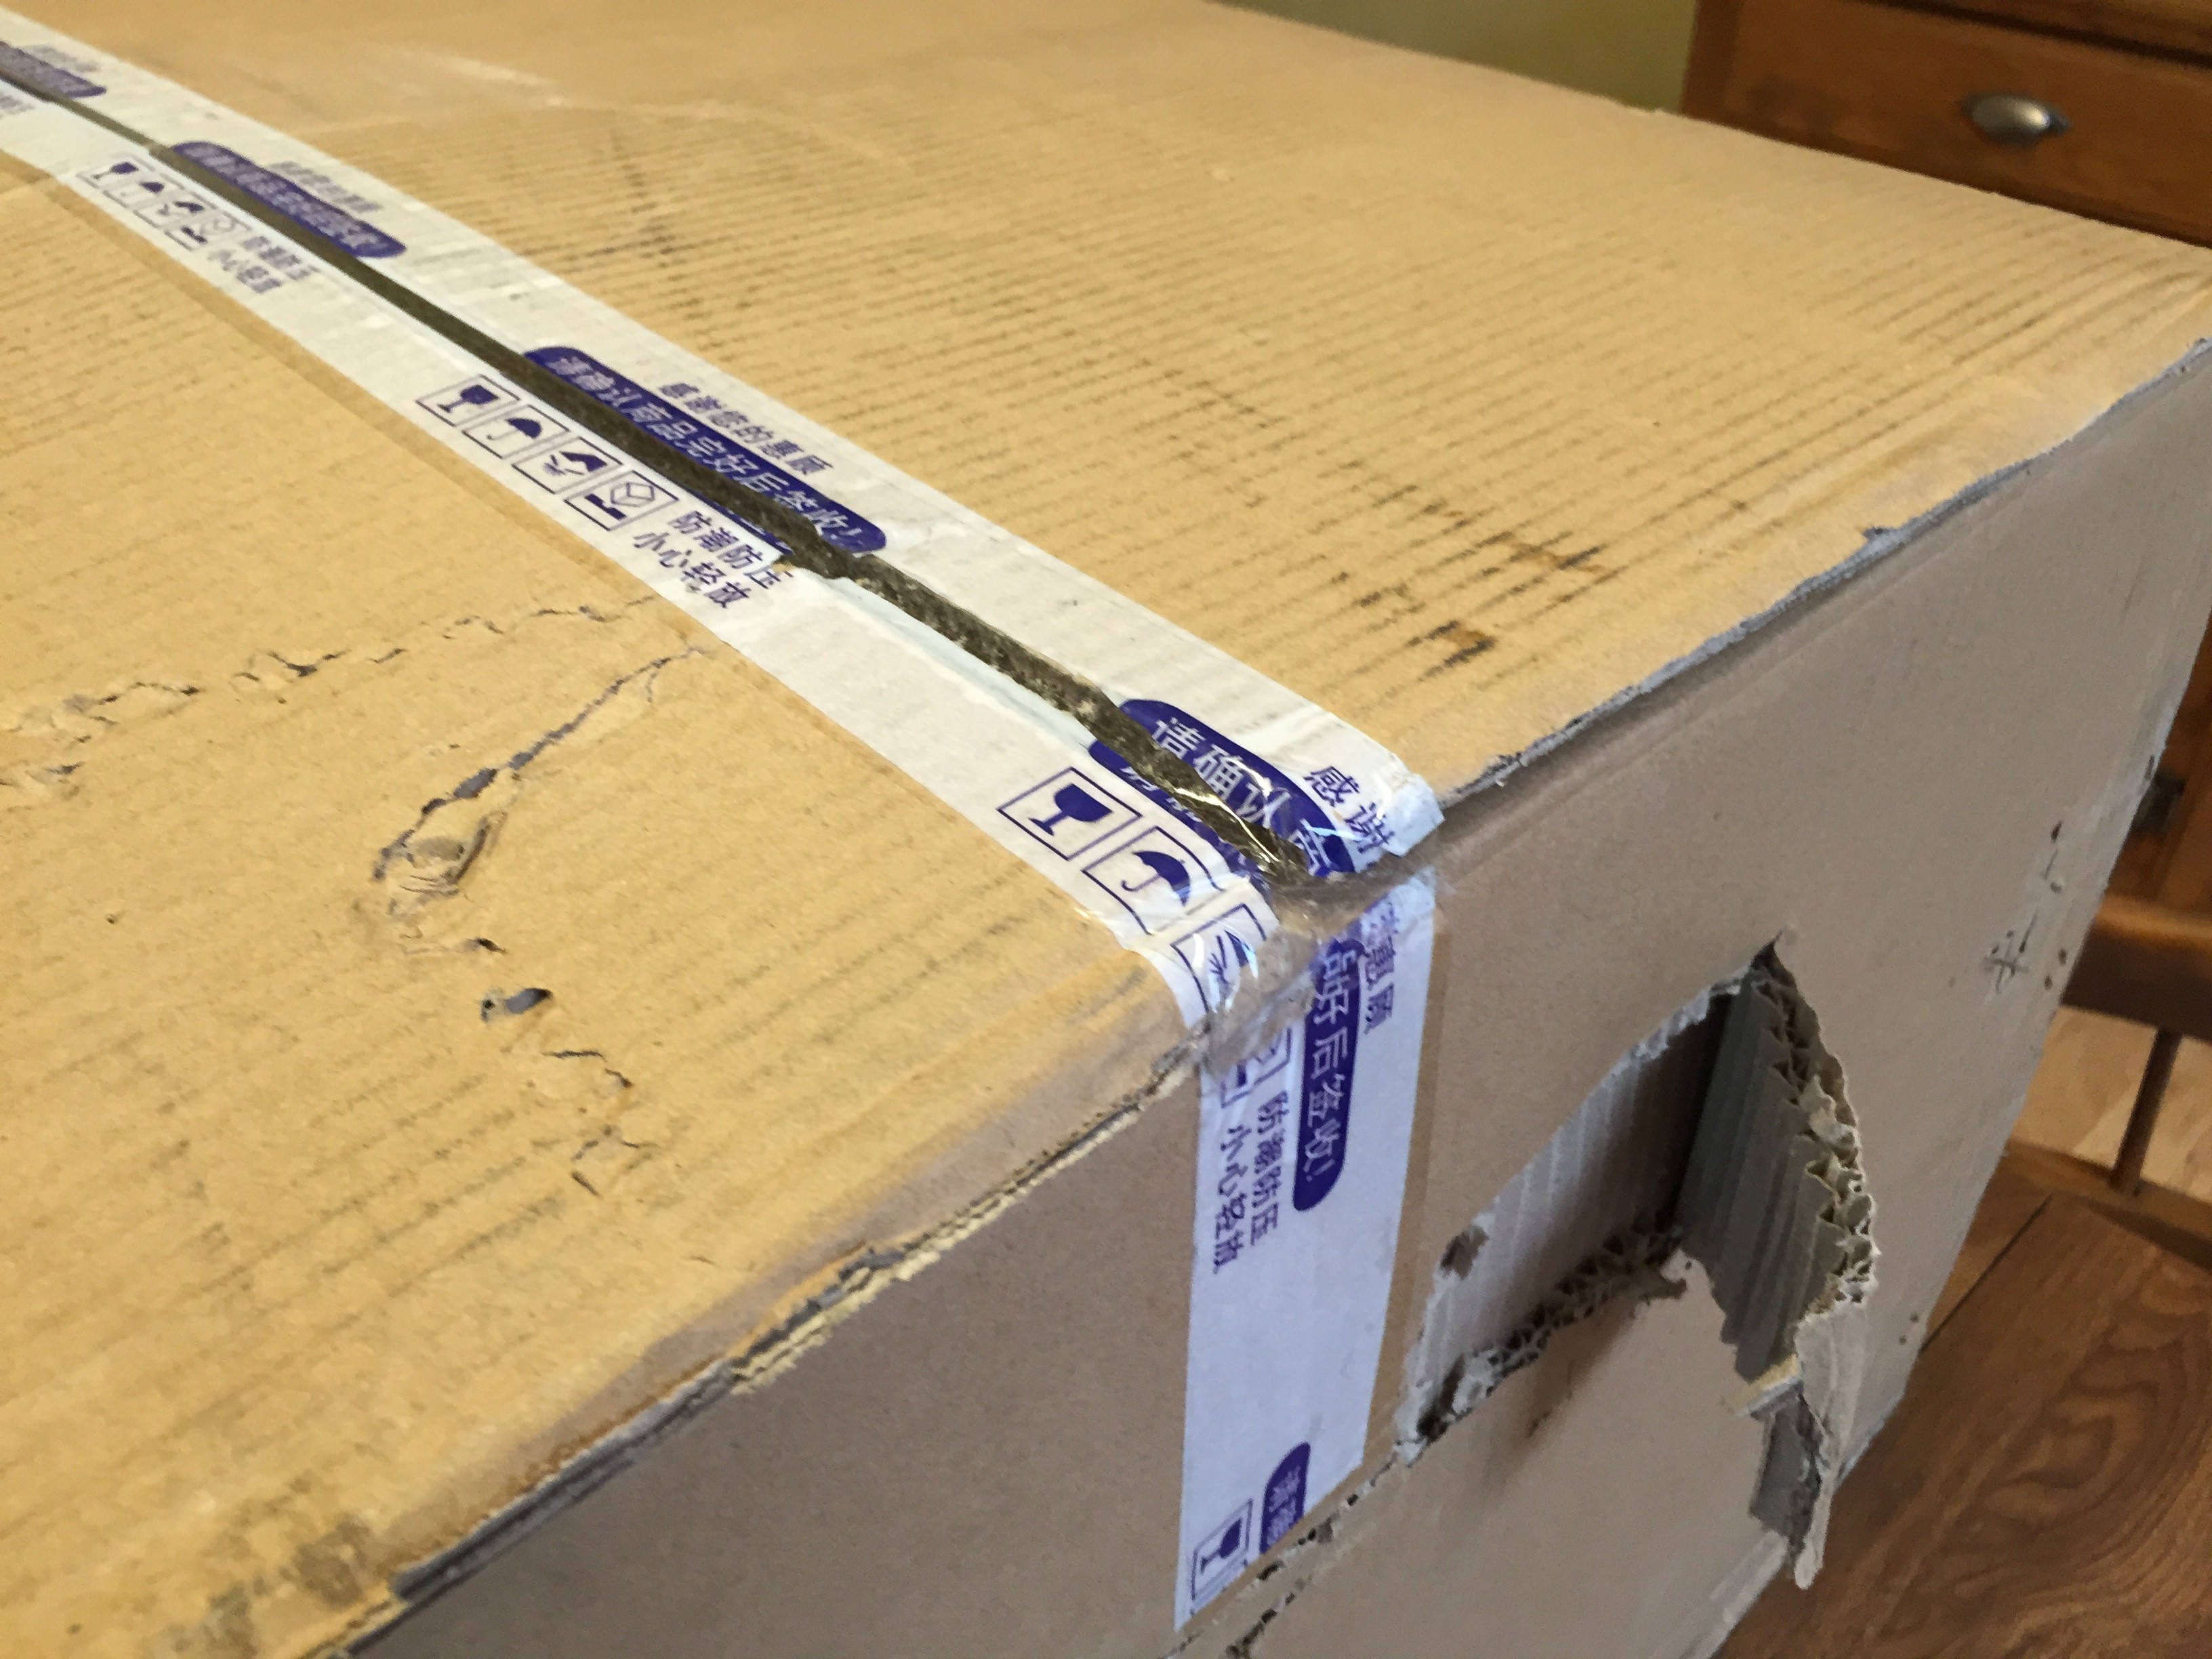
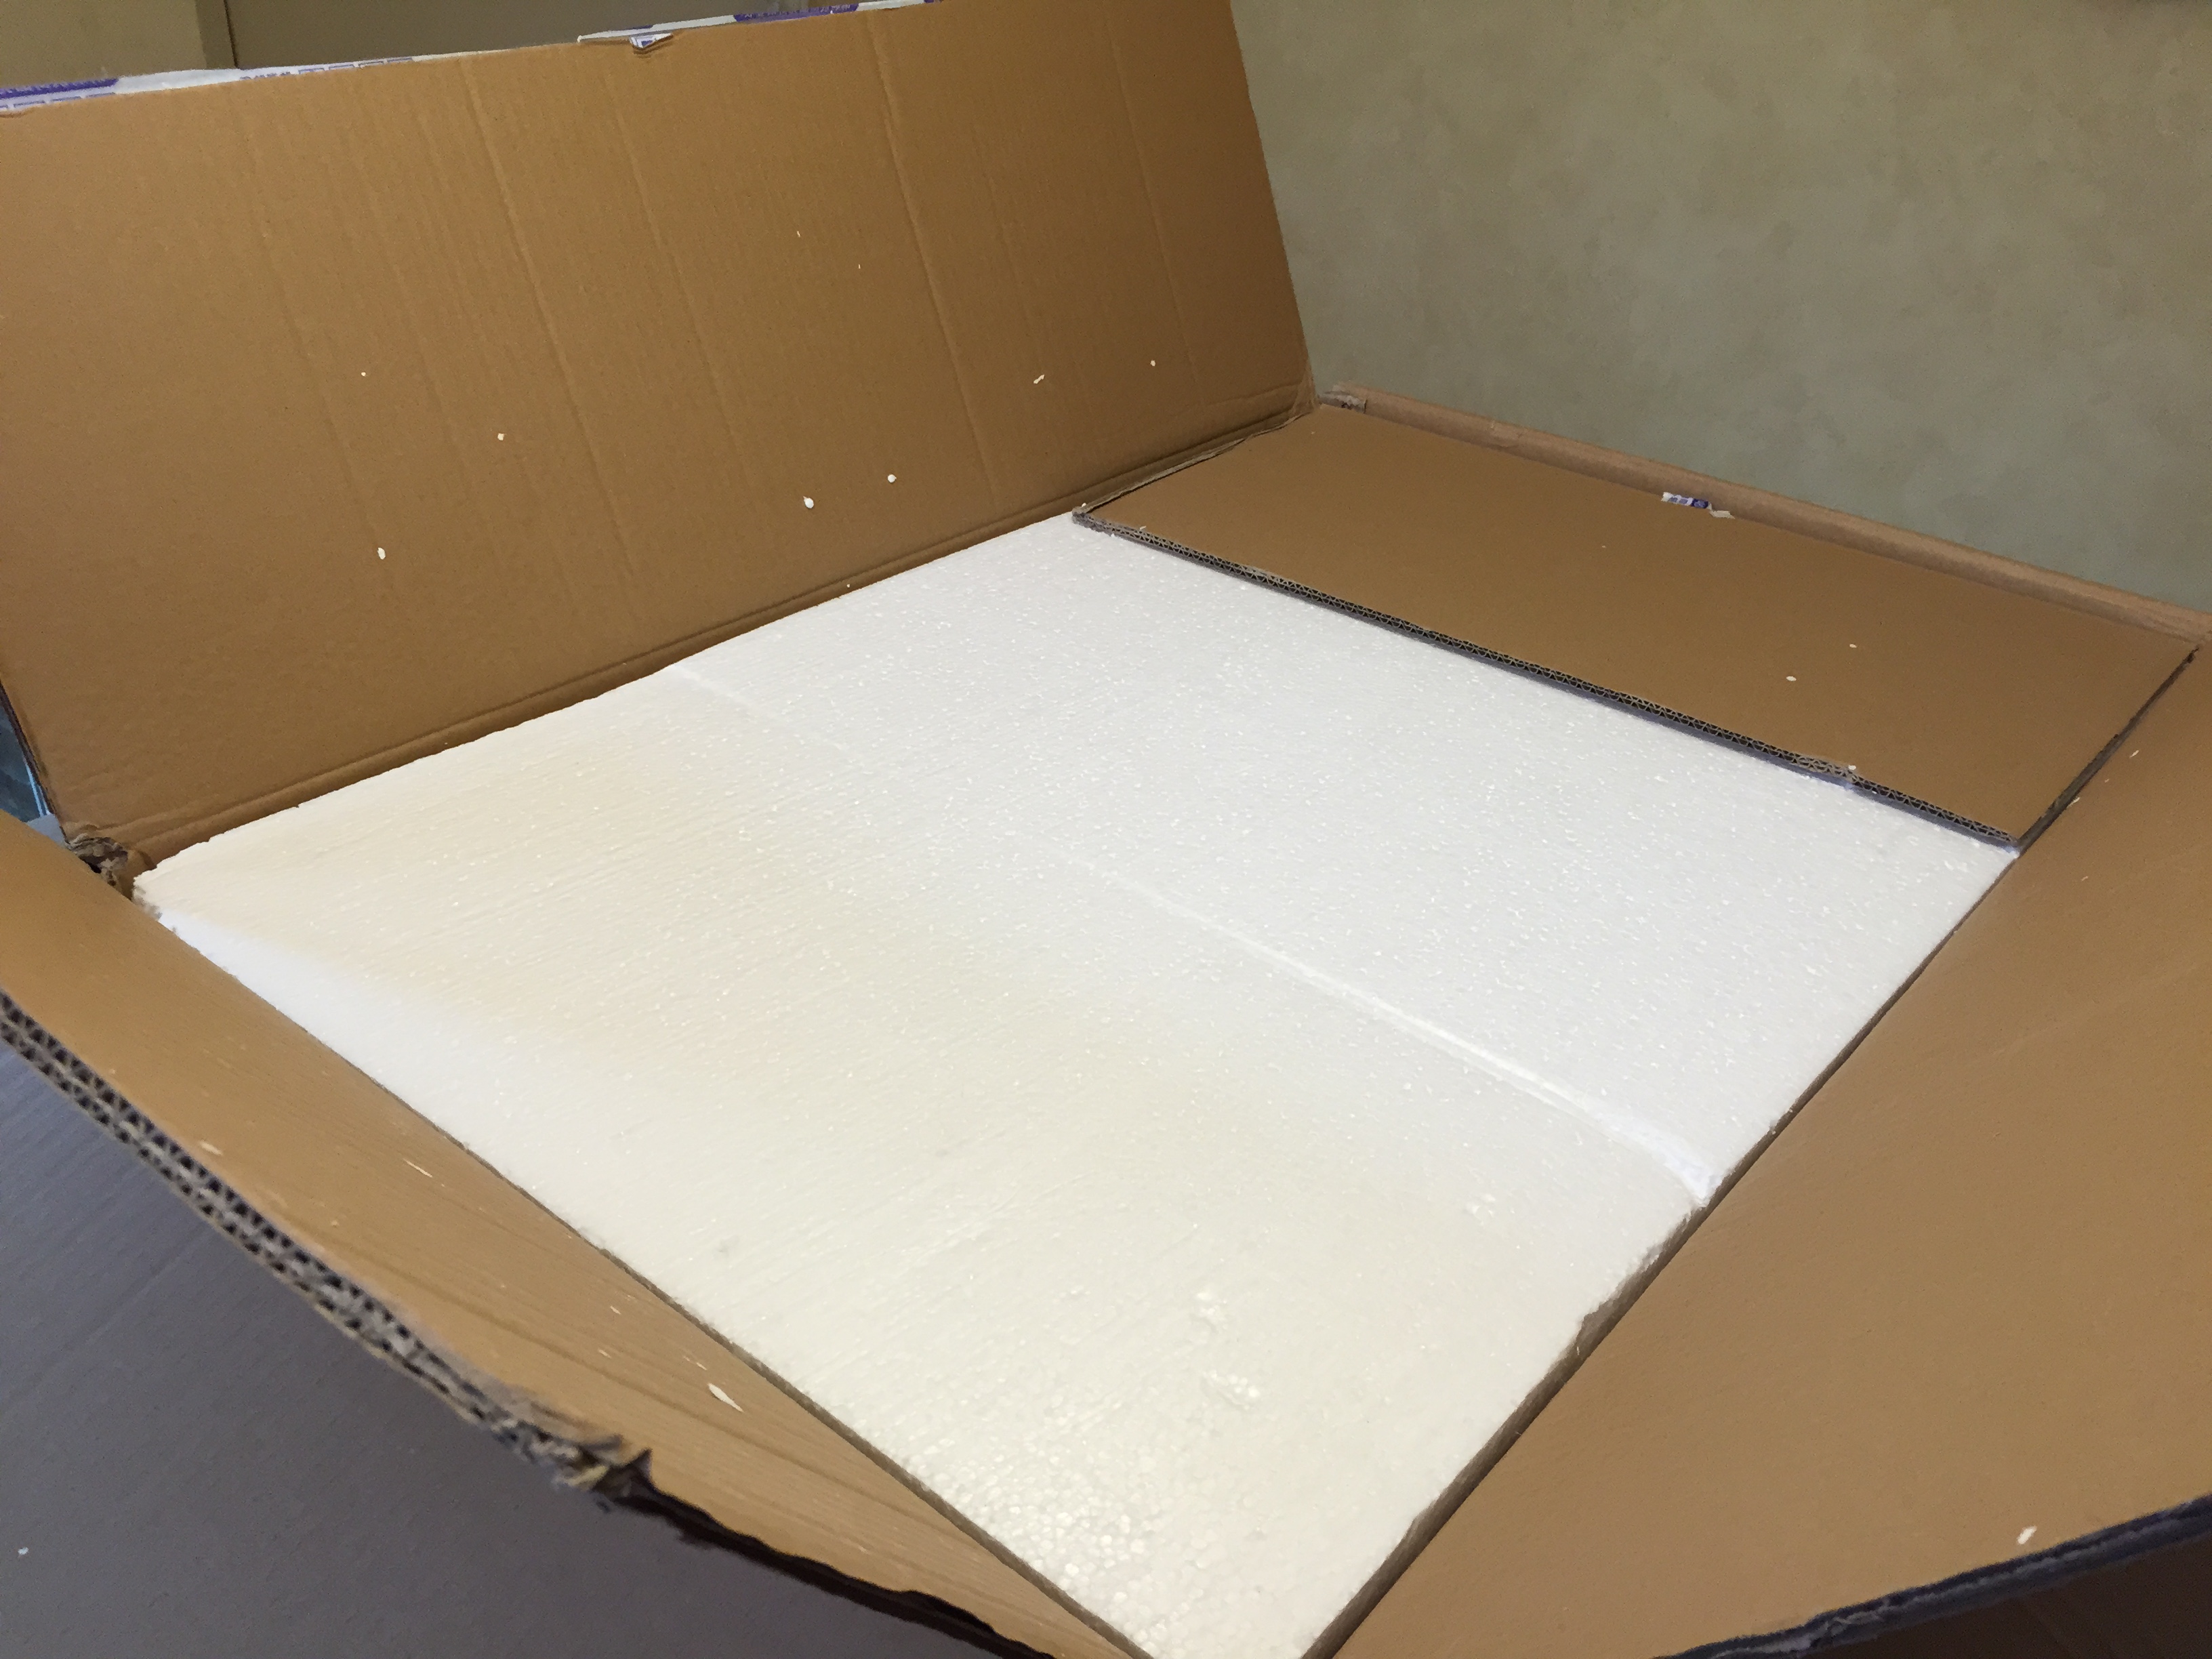
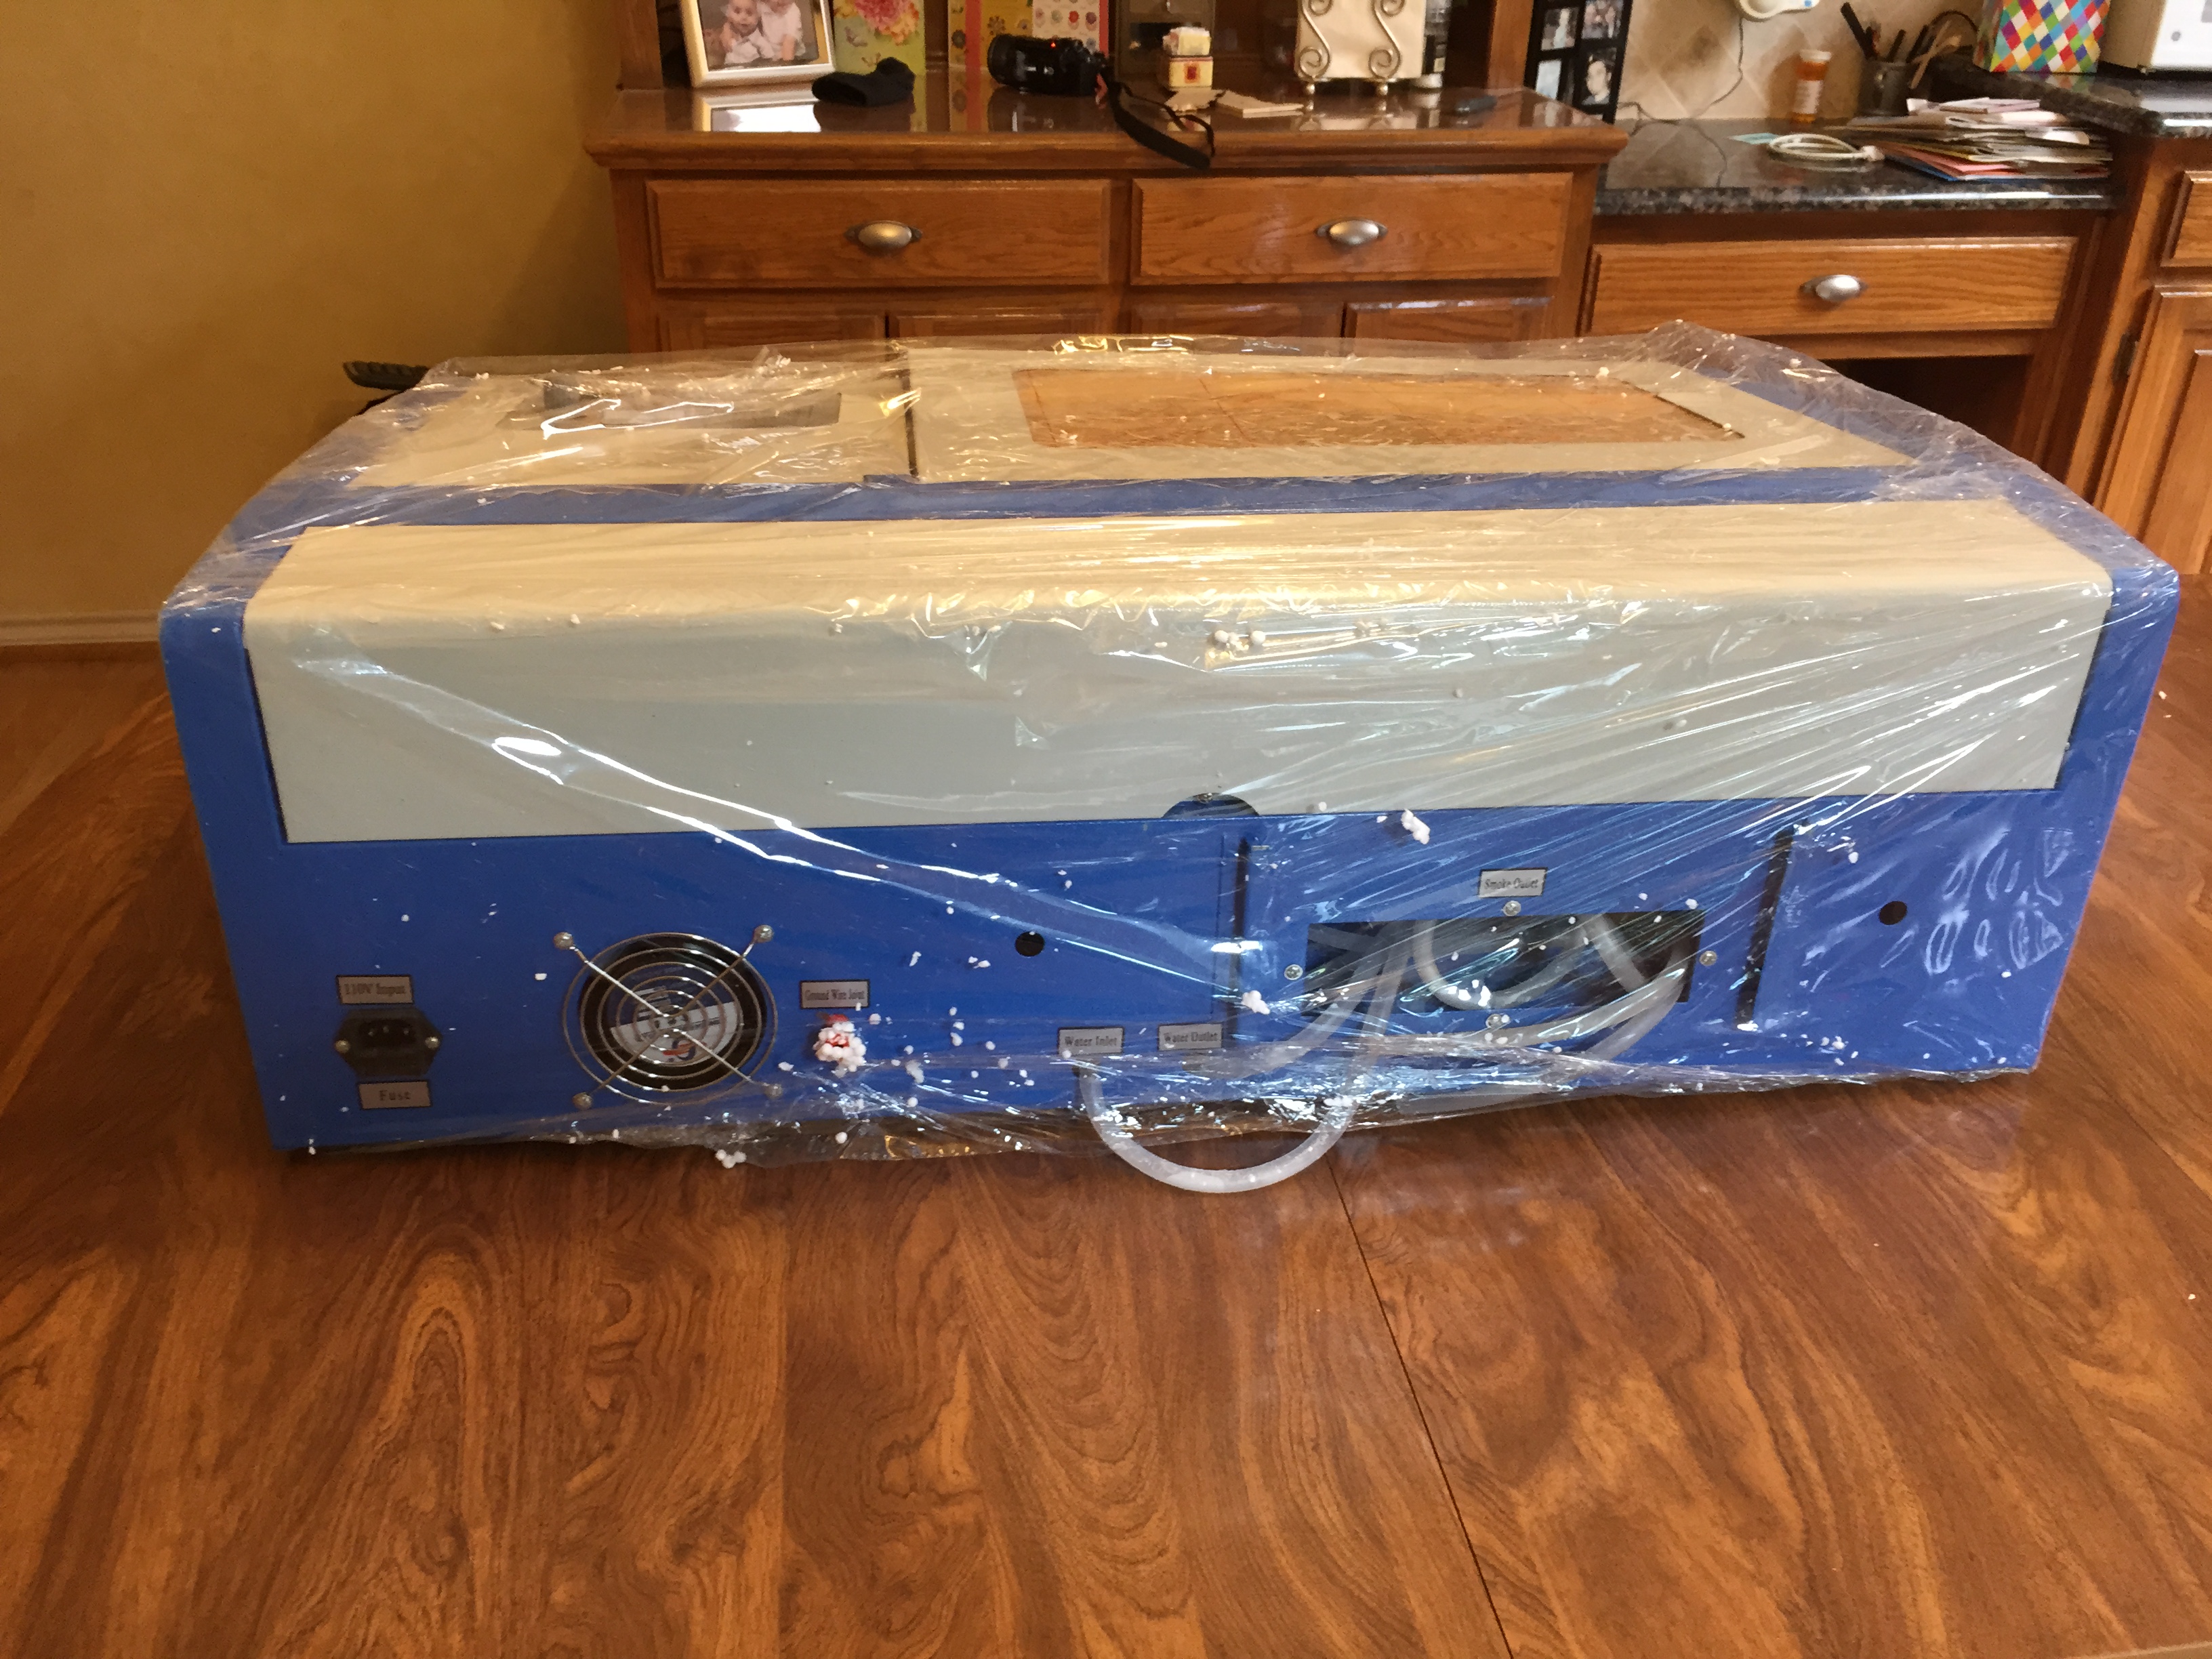
The laser arrived double boxed. A layer of Styrofoam sheeting separated the two boxes. The outer box had several nasty dings and scraps, but the inner box was pristine. The sealing tape on both boxes were cut and resealed with additional tape. I do not know if this was done by customs or by the vendor to check things out, maybe both did it.
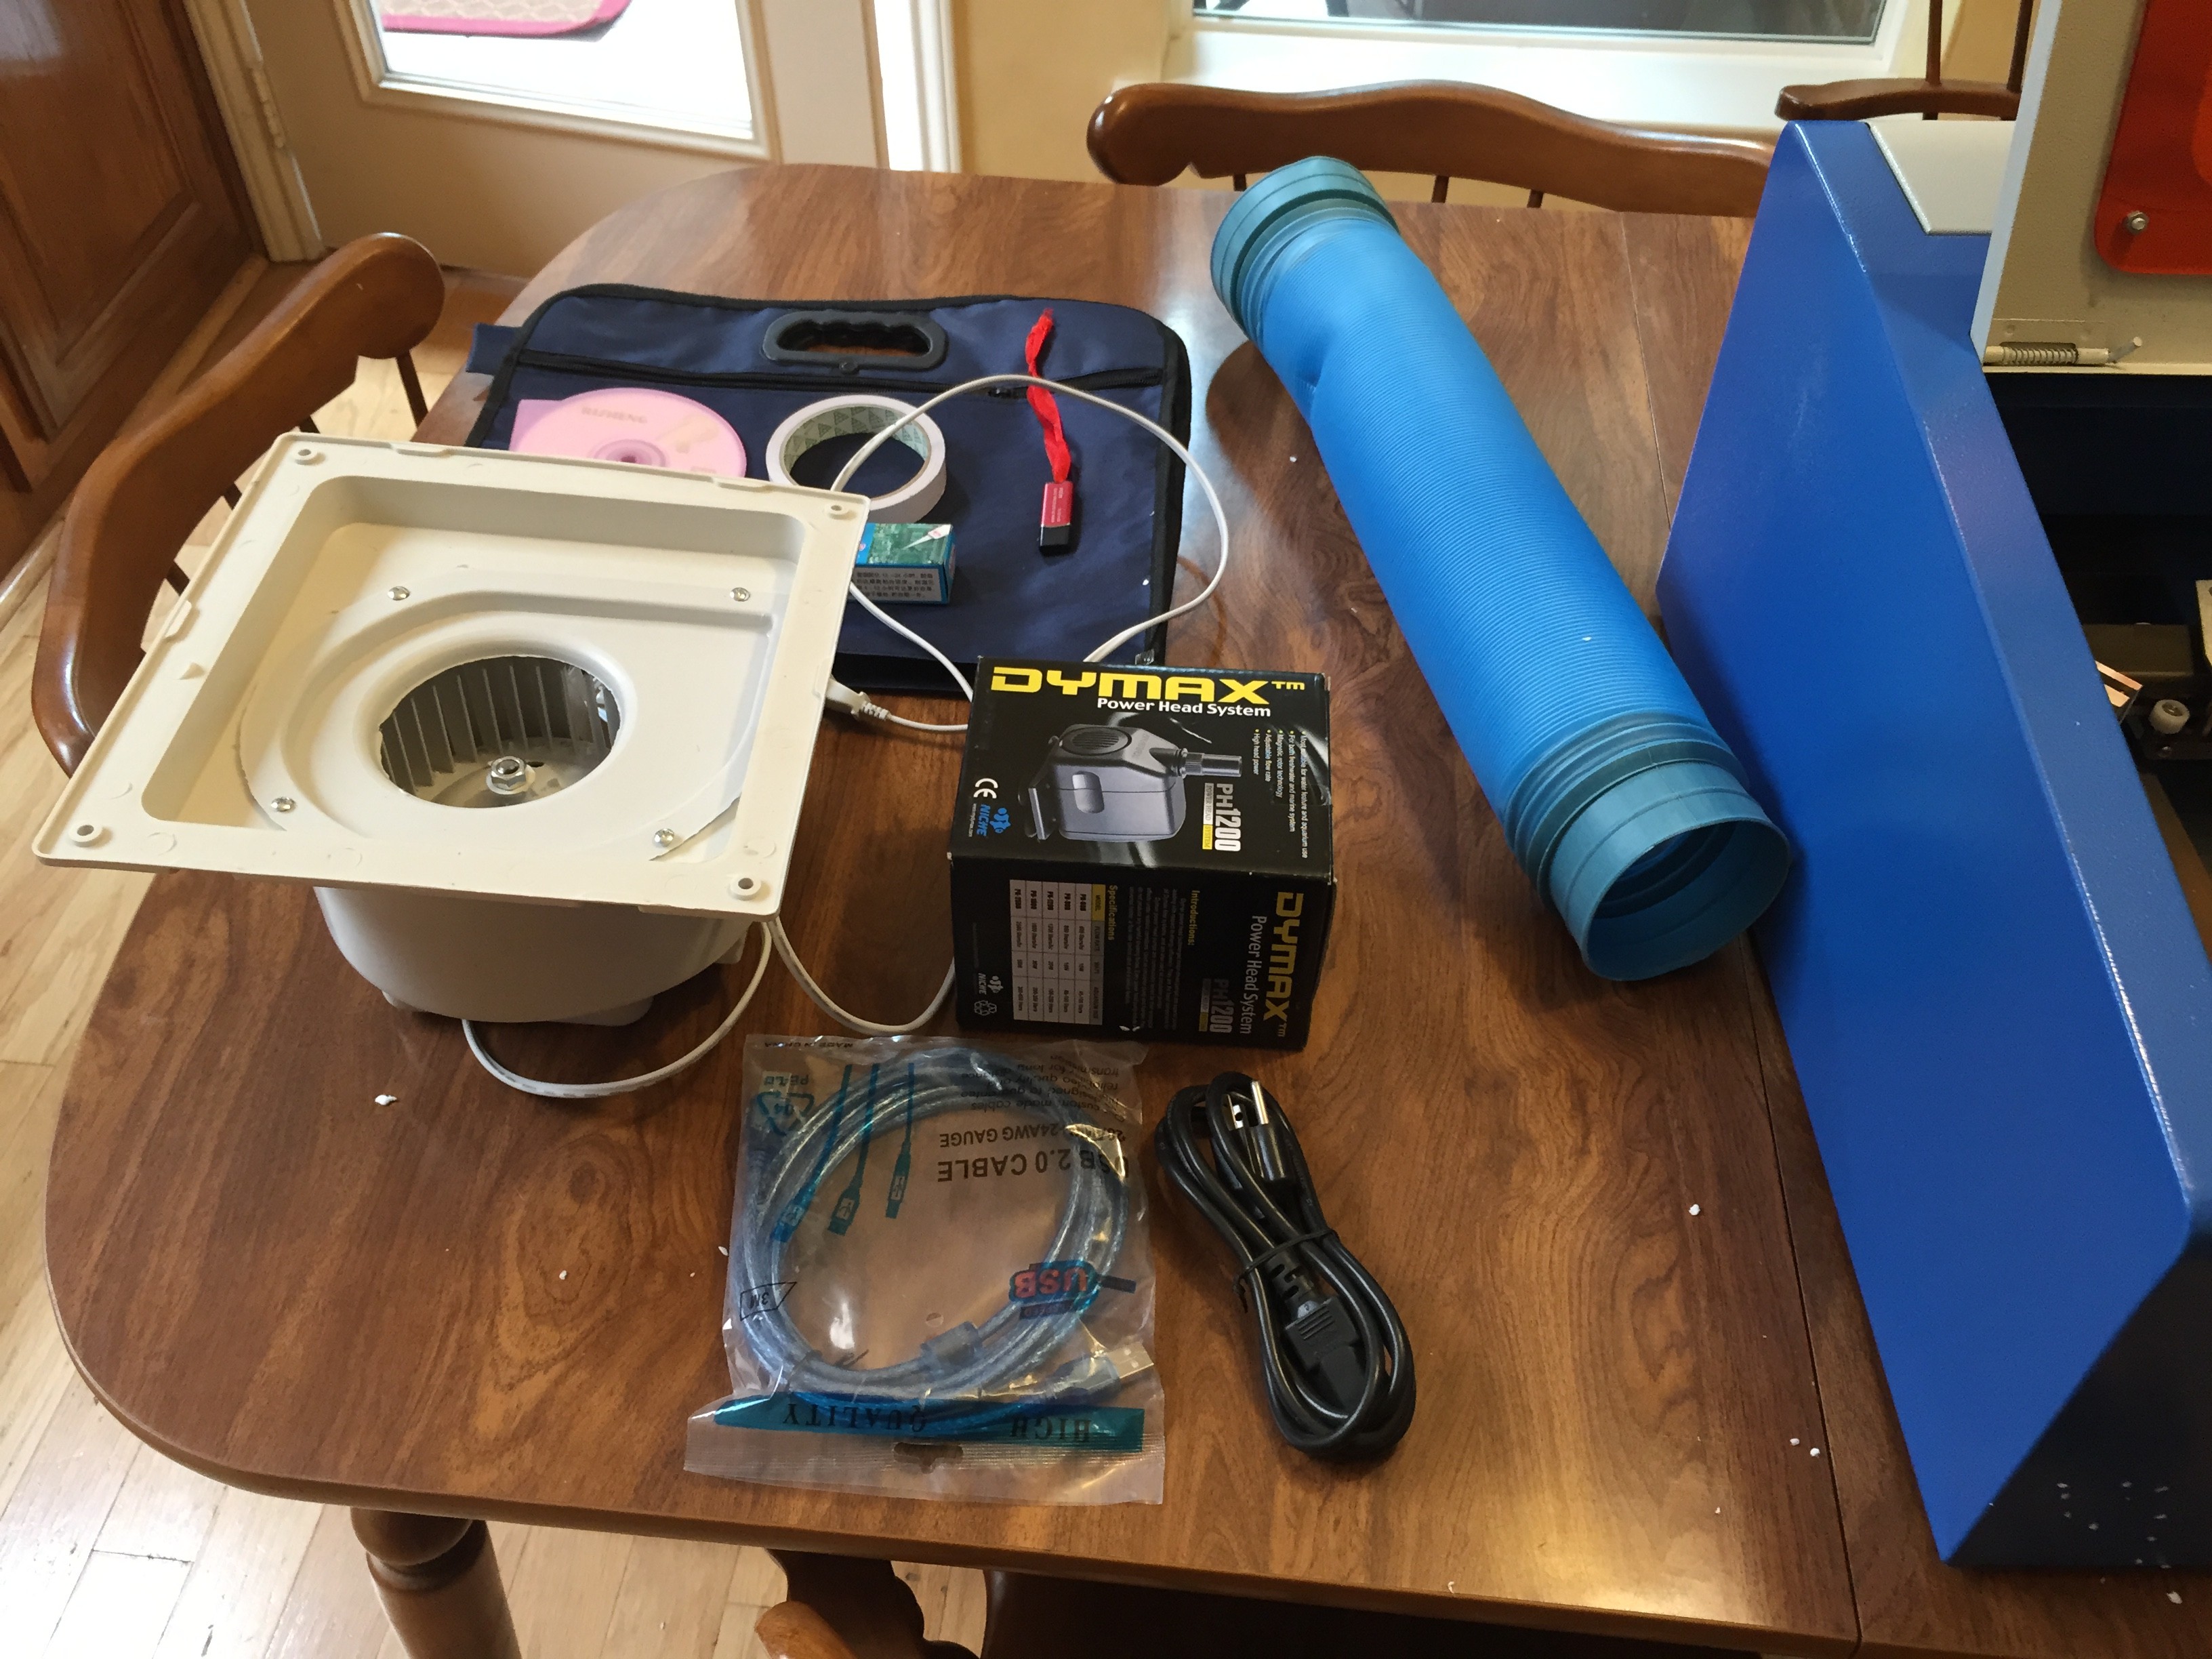
With the laser cutter you get: an aquarium pump, exhaust fan, exhaust hose, software, software dongle, power and USB cords, and adhesive (didn’t use).
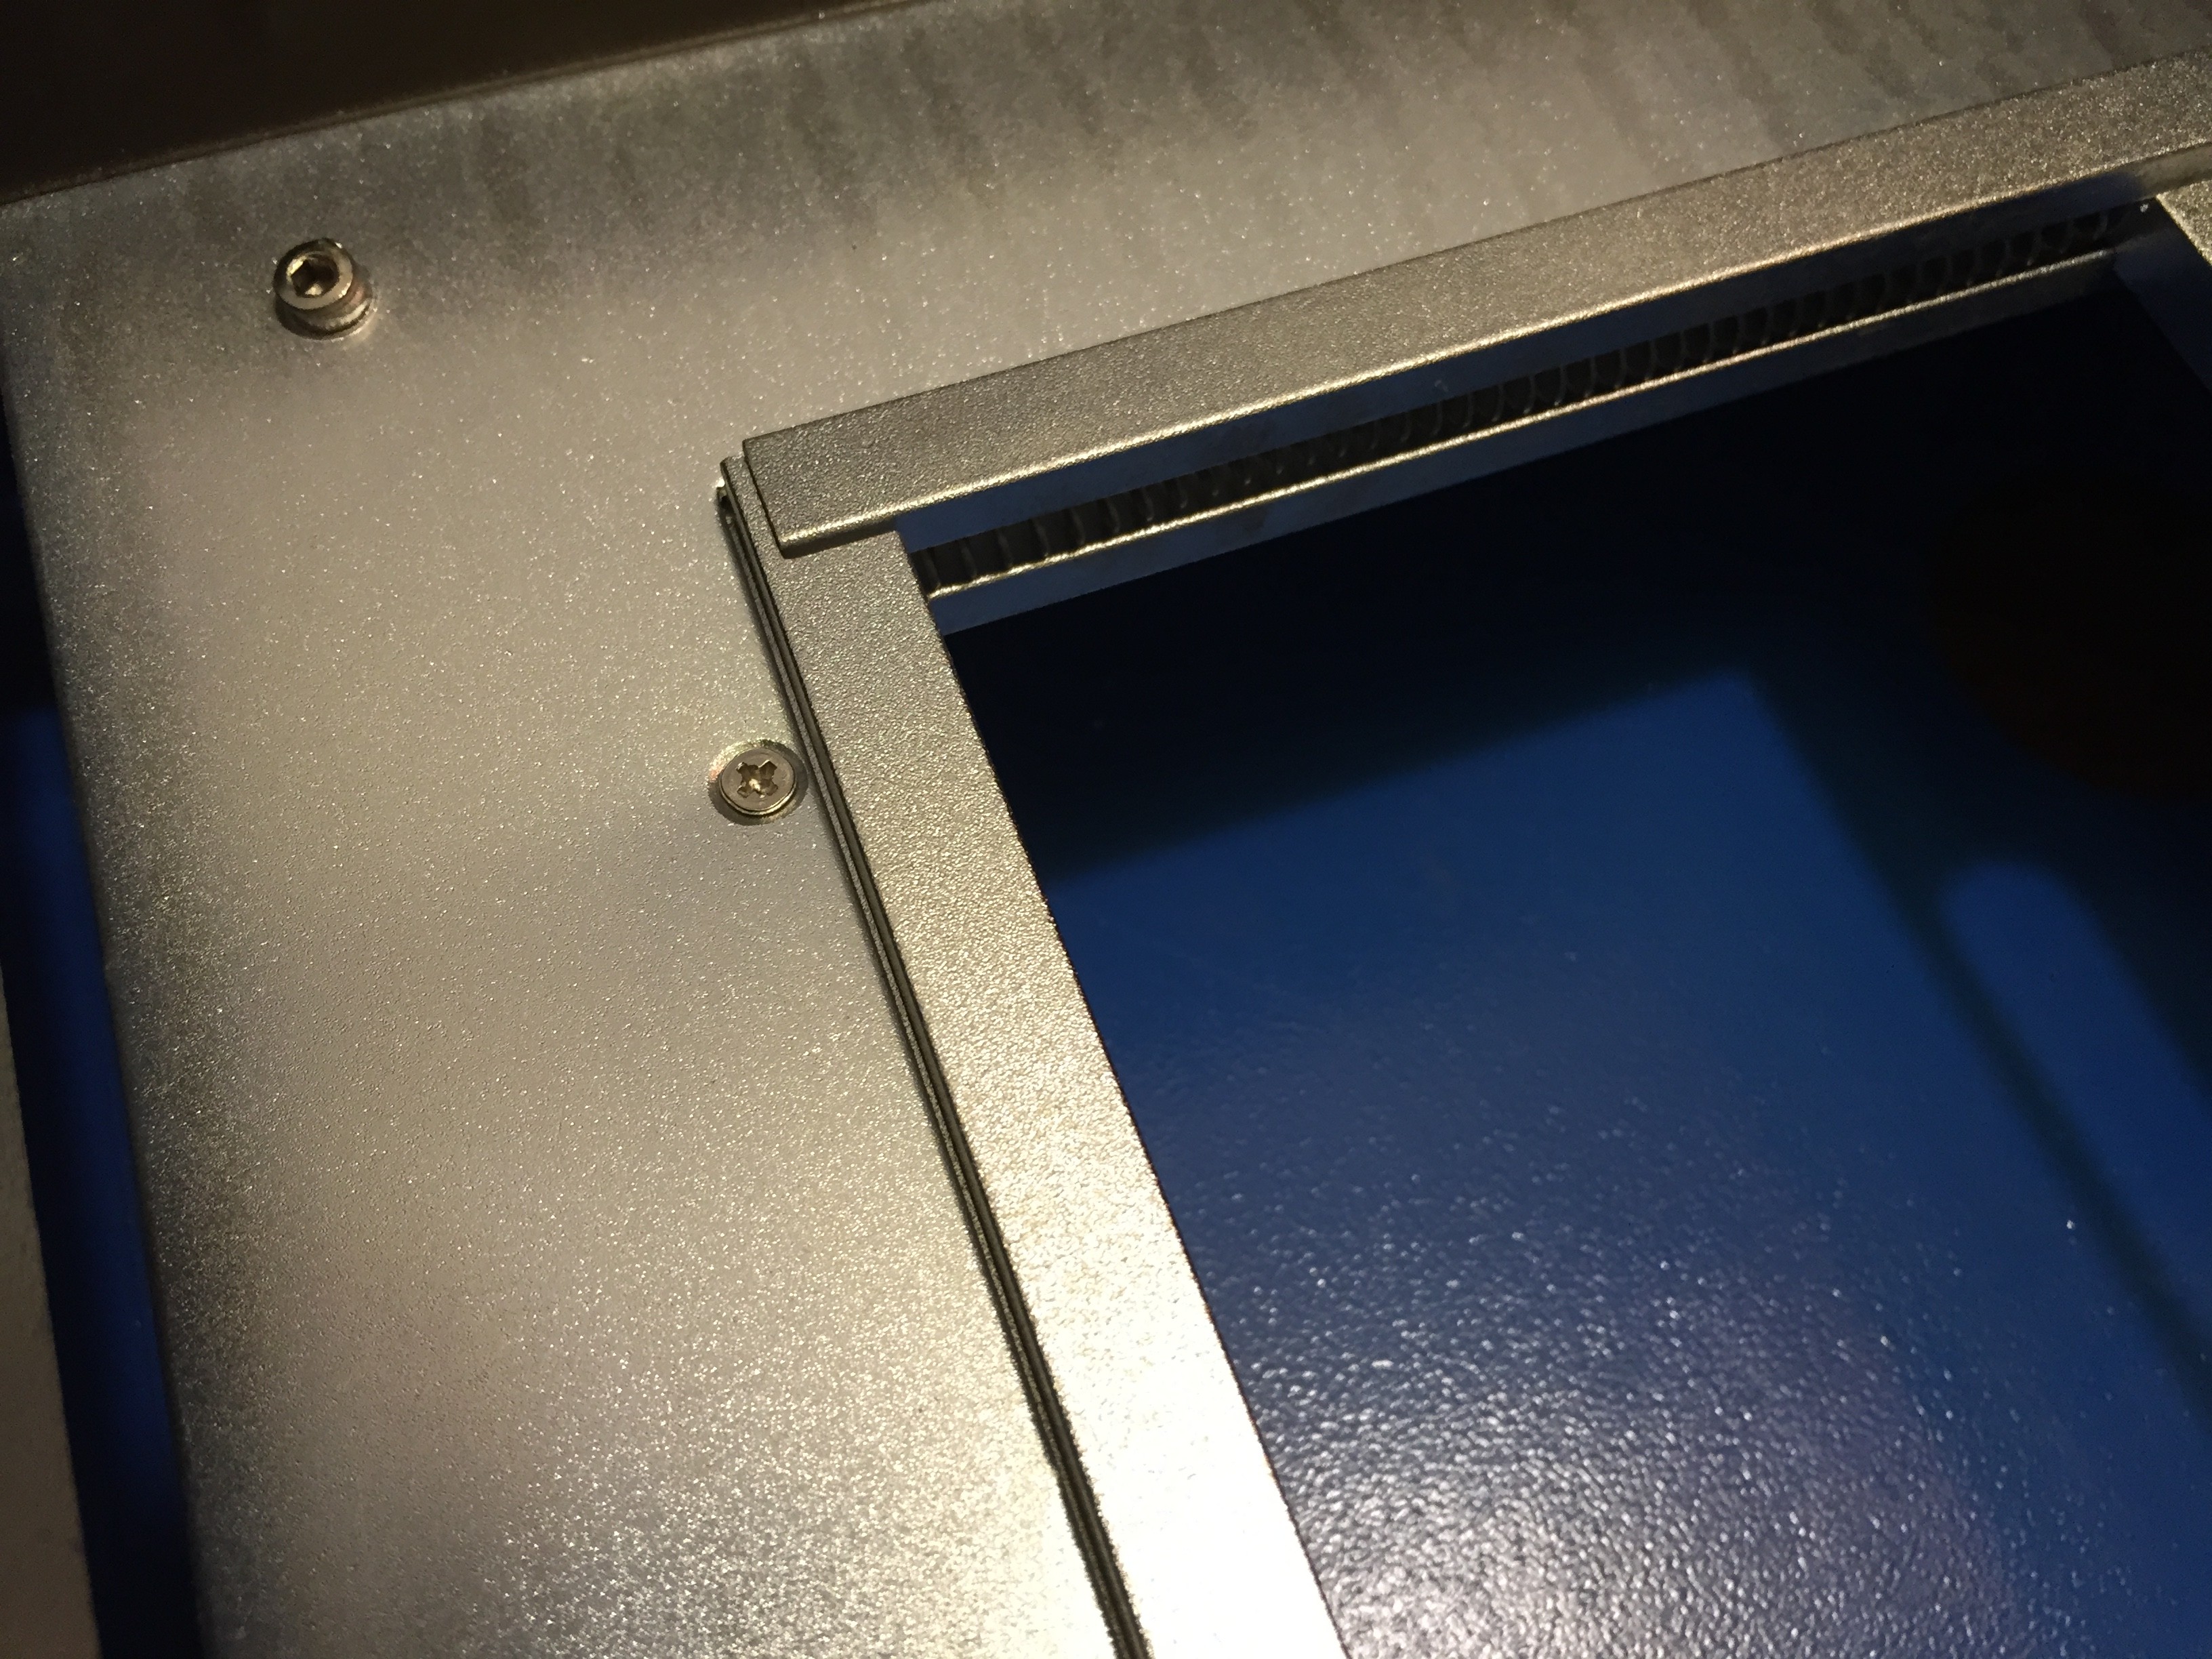
I did have a few issues with the parts packaged with the laser. The two most serious were; the housing on the exhaust fan was cracked, and a crease in the metal of the shelf that hold items being cut. I sent a email to the vendor about these problems and he sent me a new exhaust fan unit, and deducted $10 from the cost. I accepted his offer.

Setup:
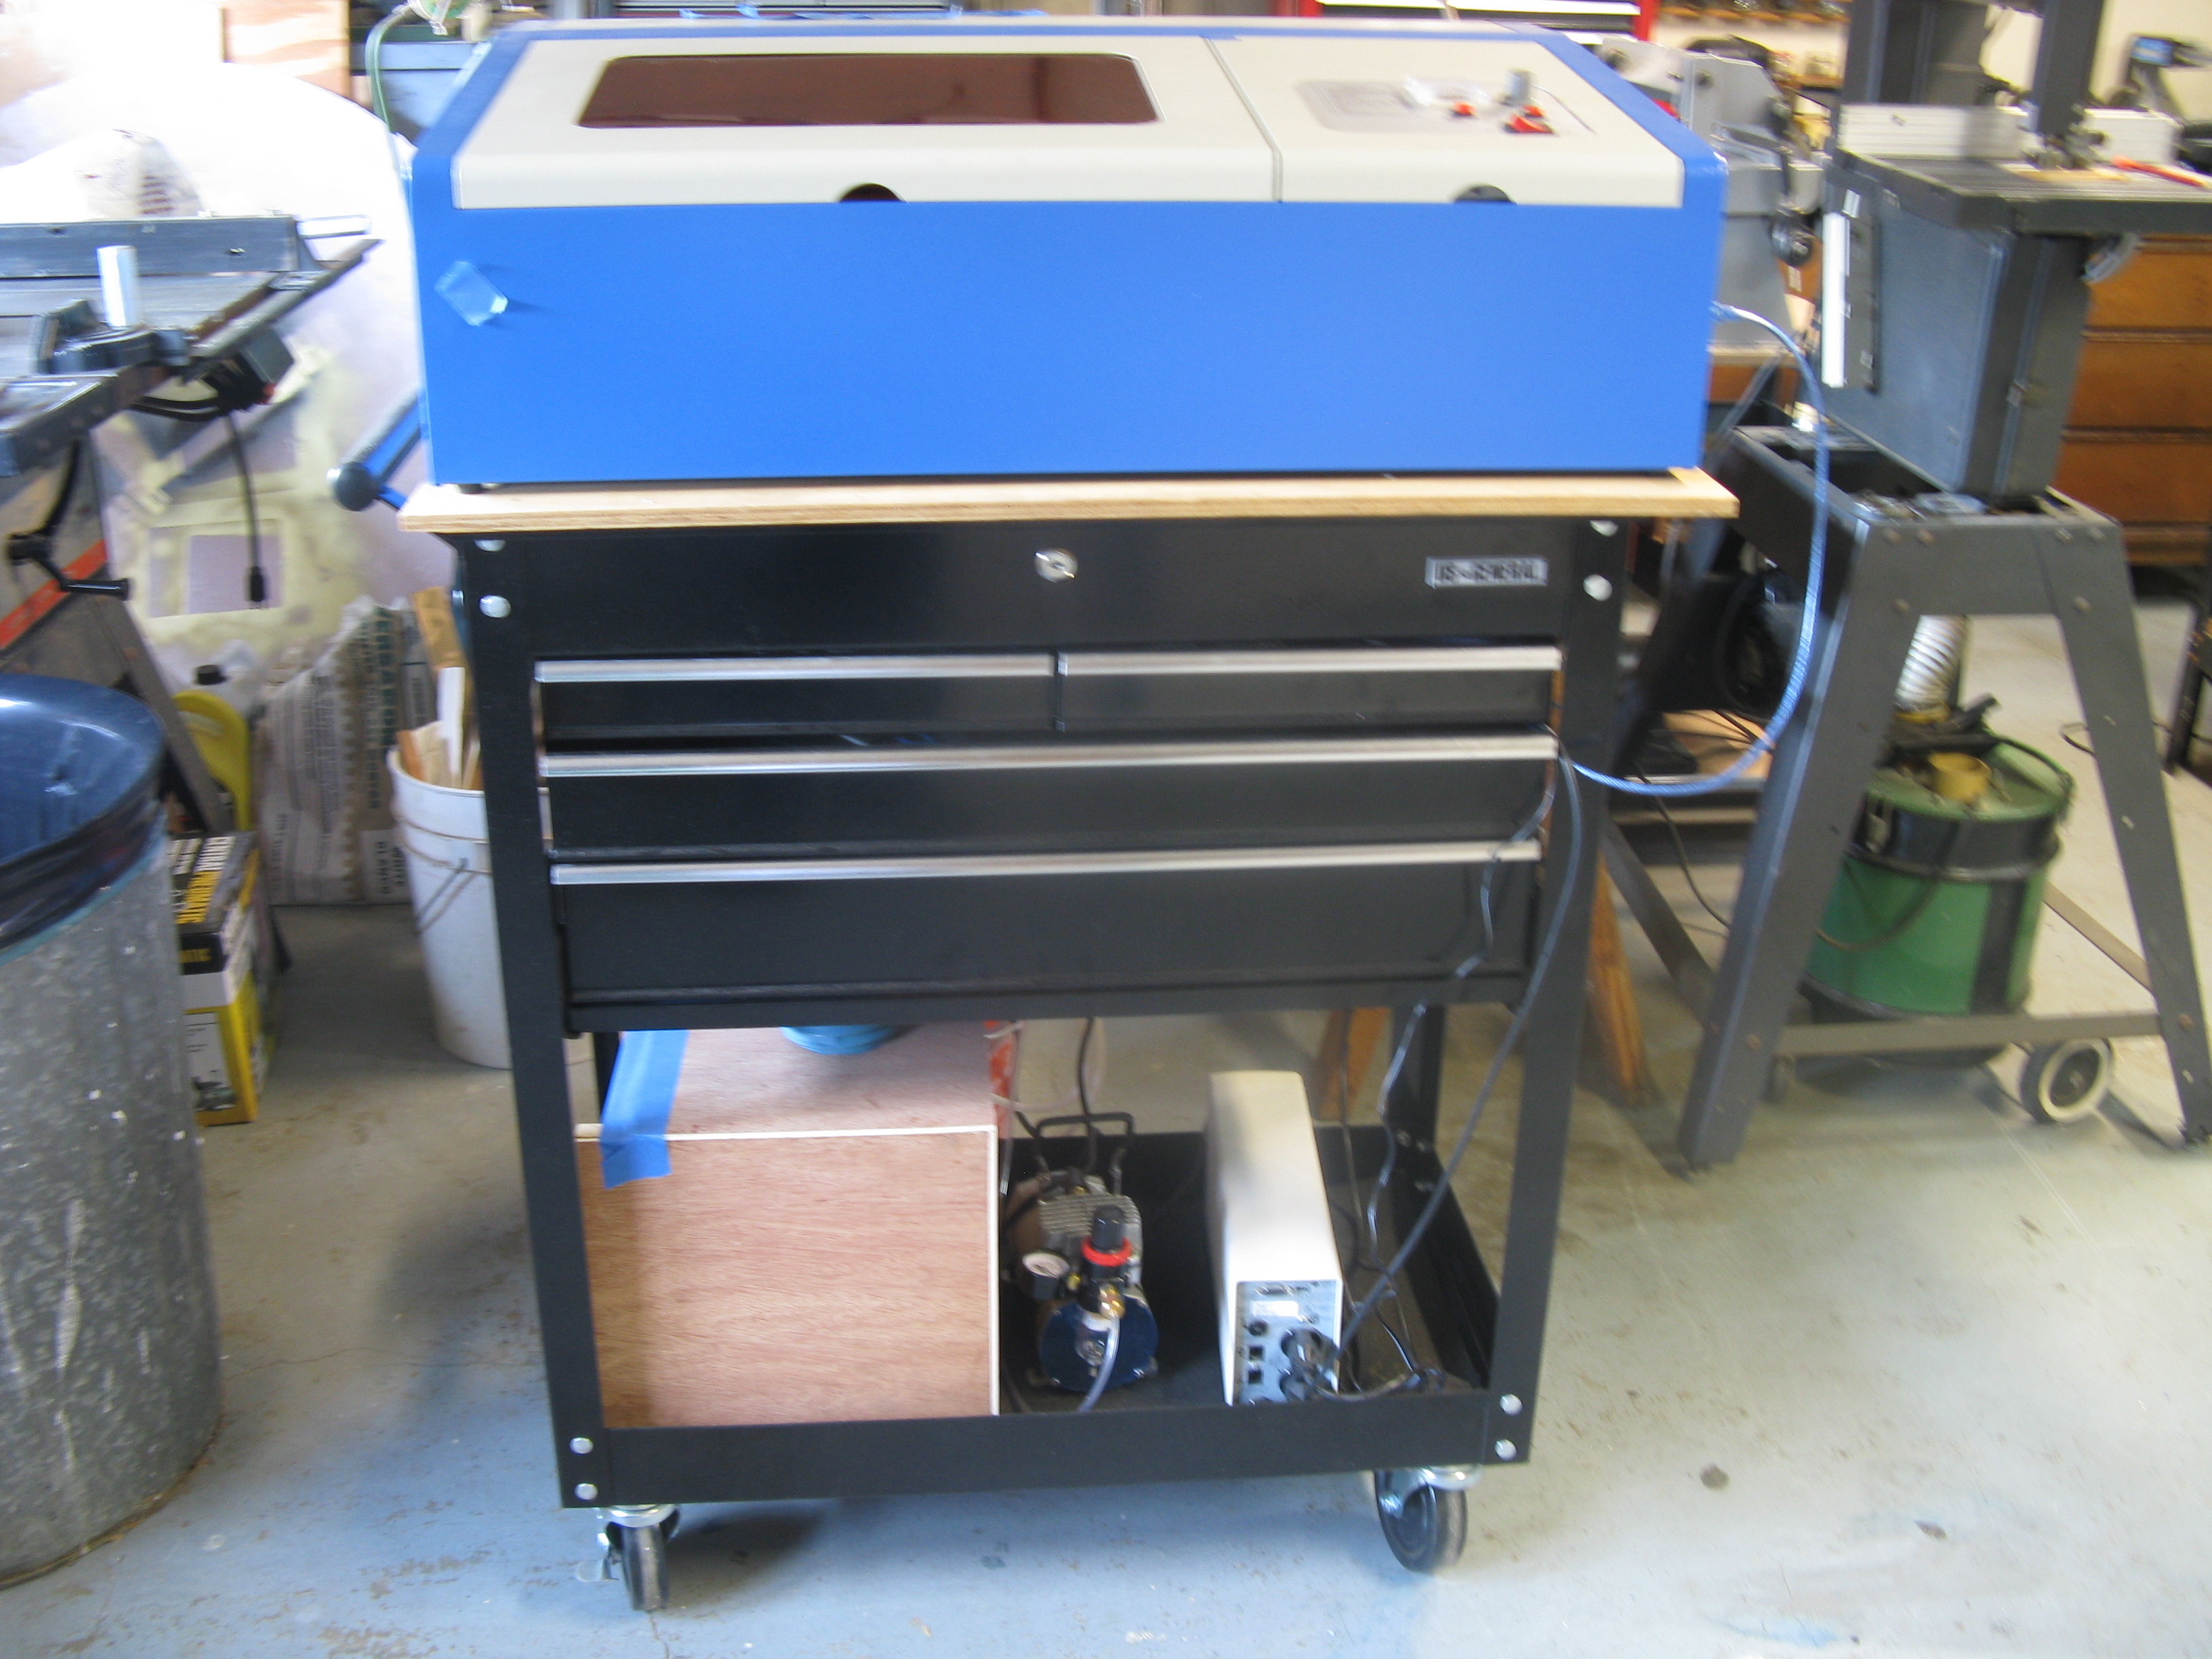
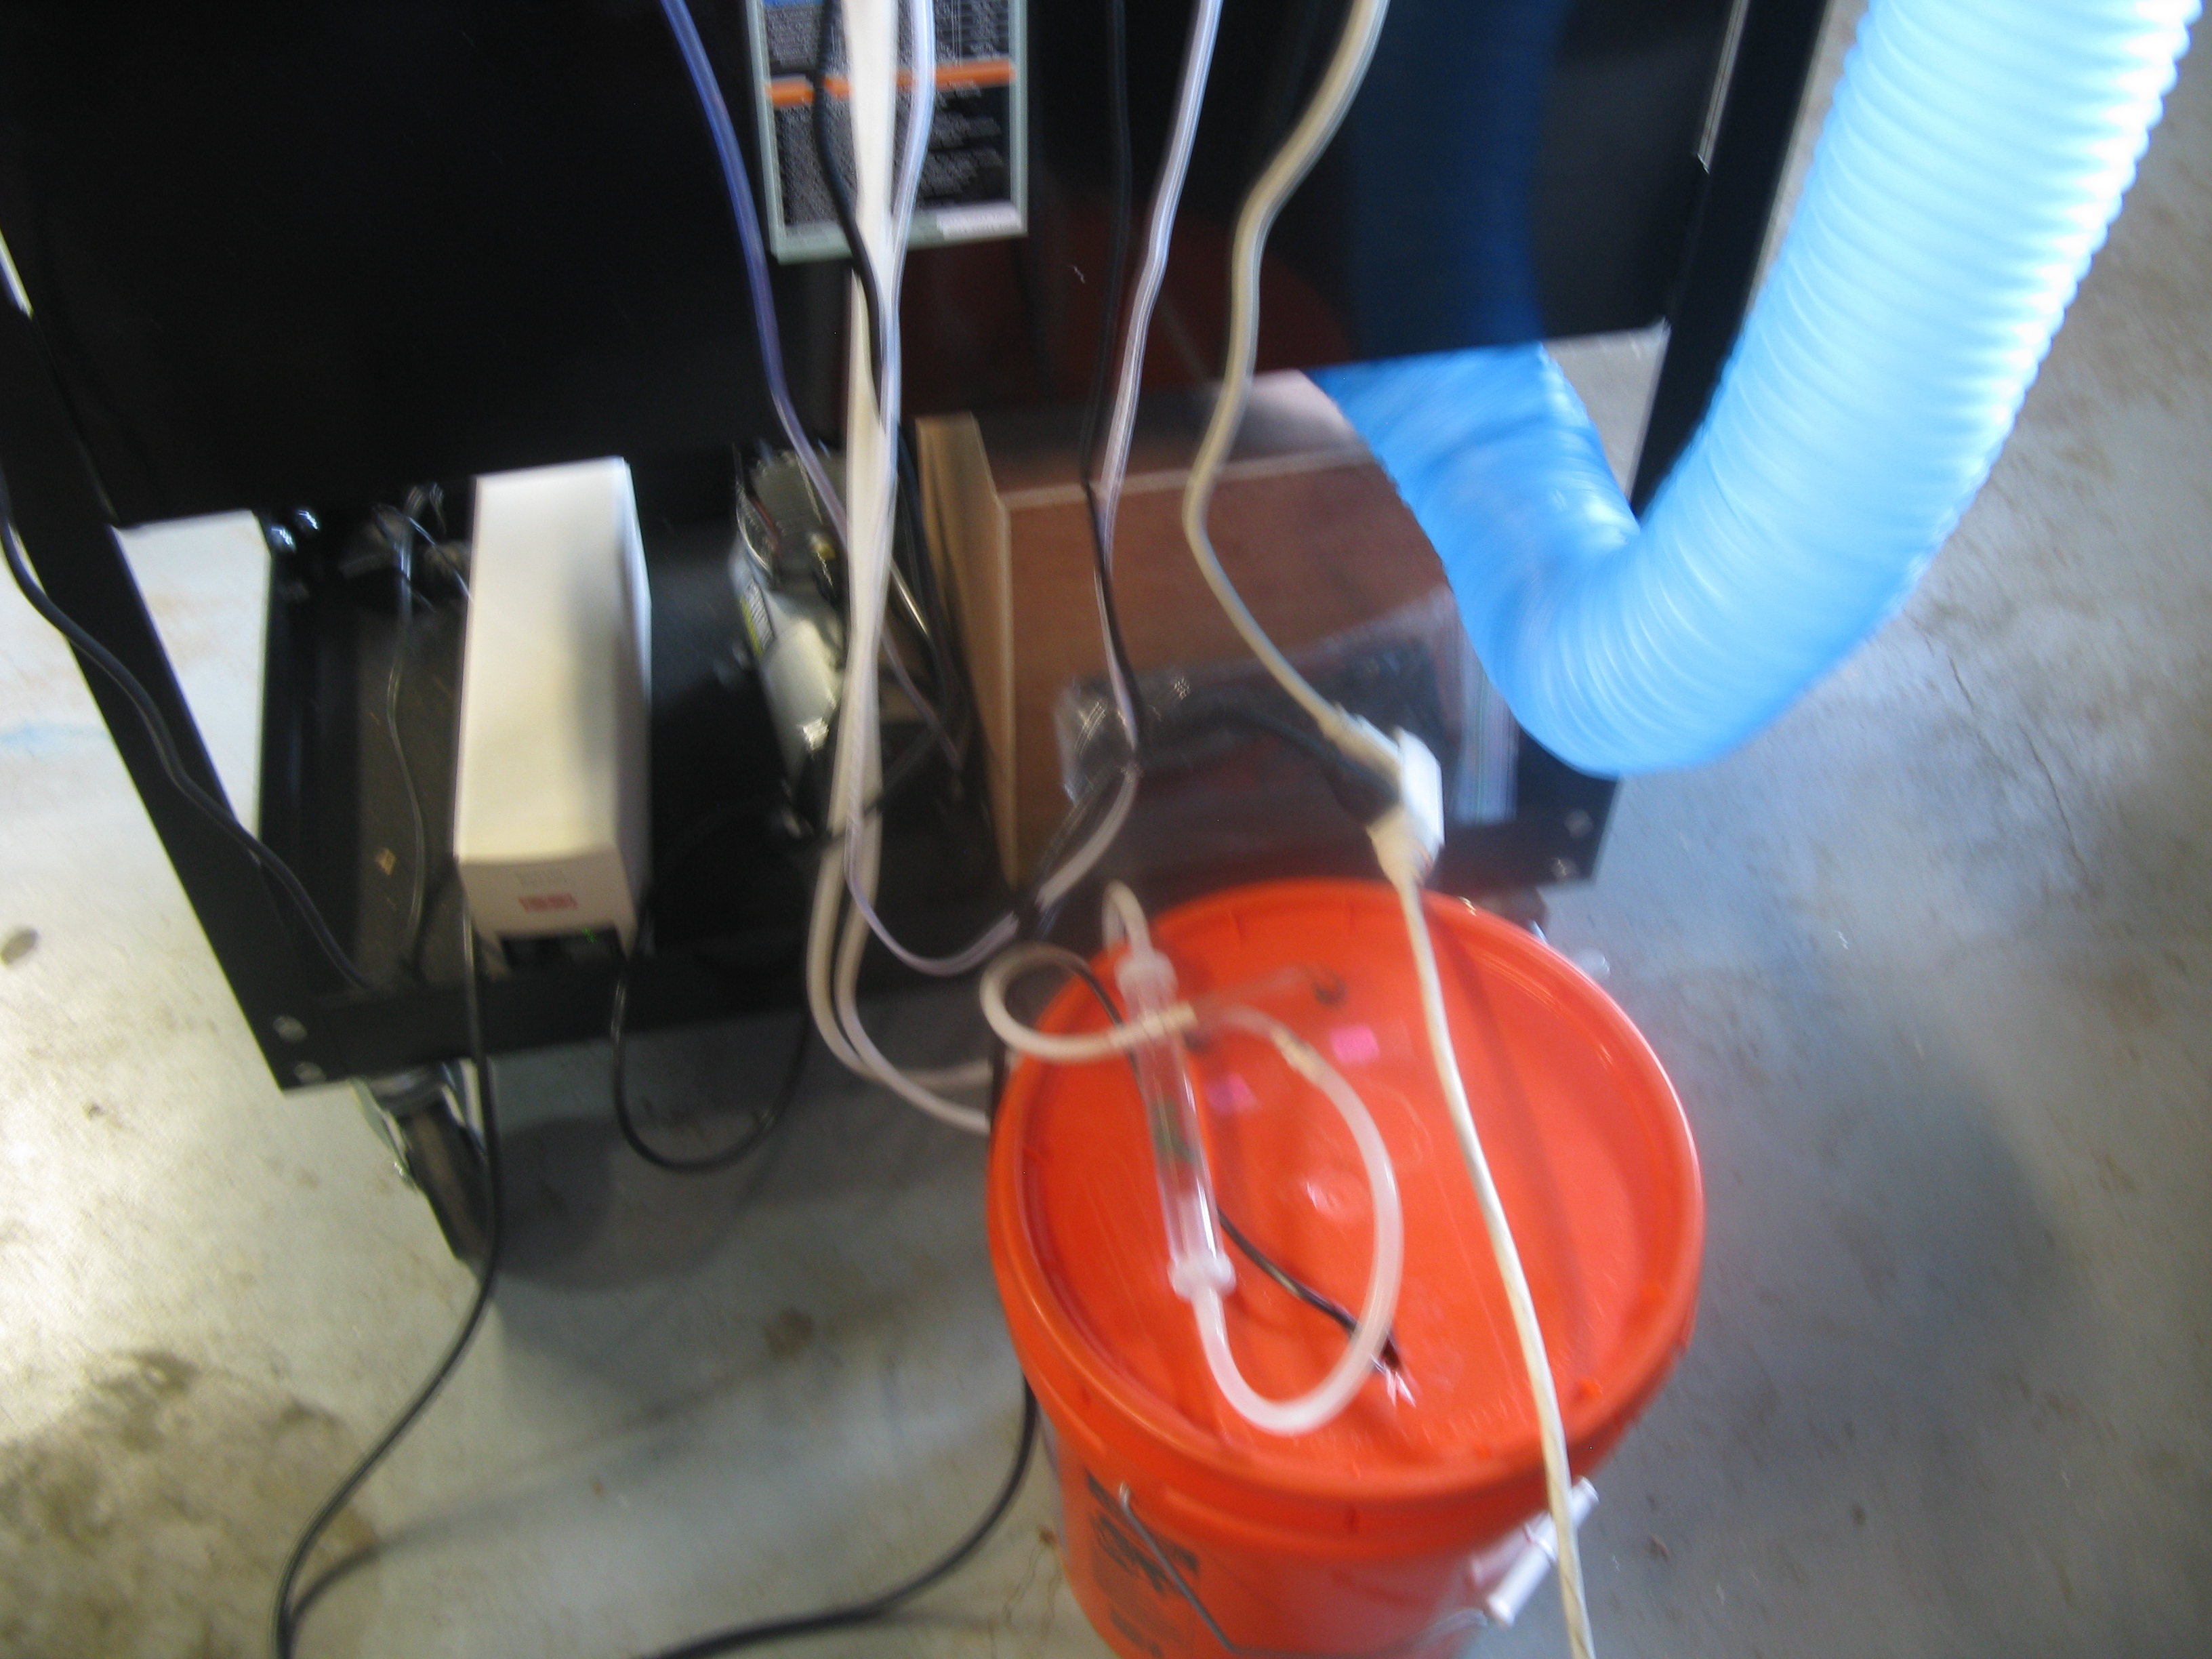
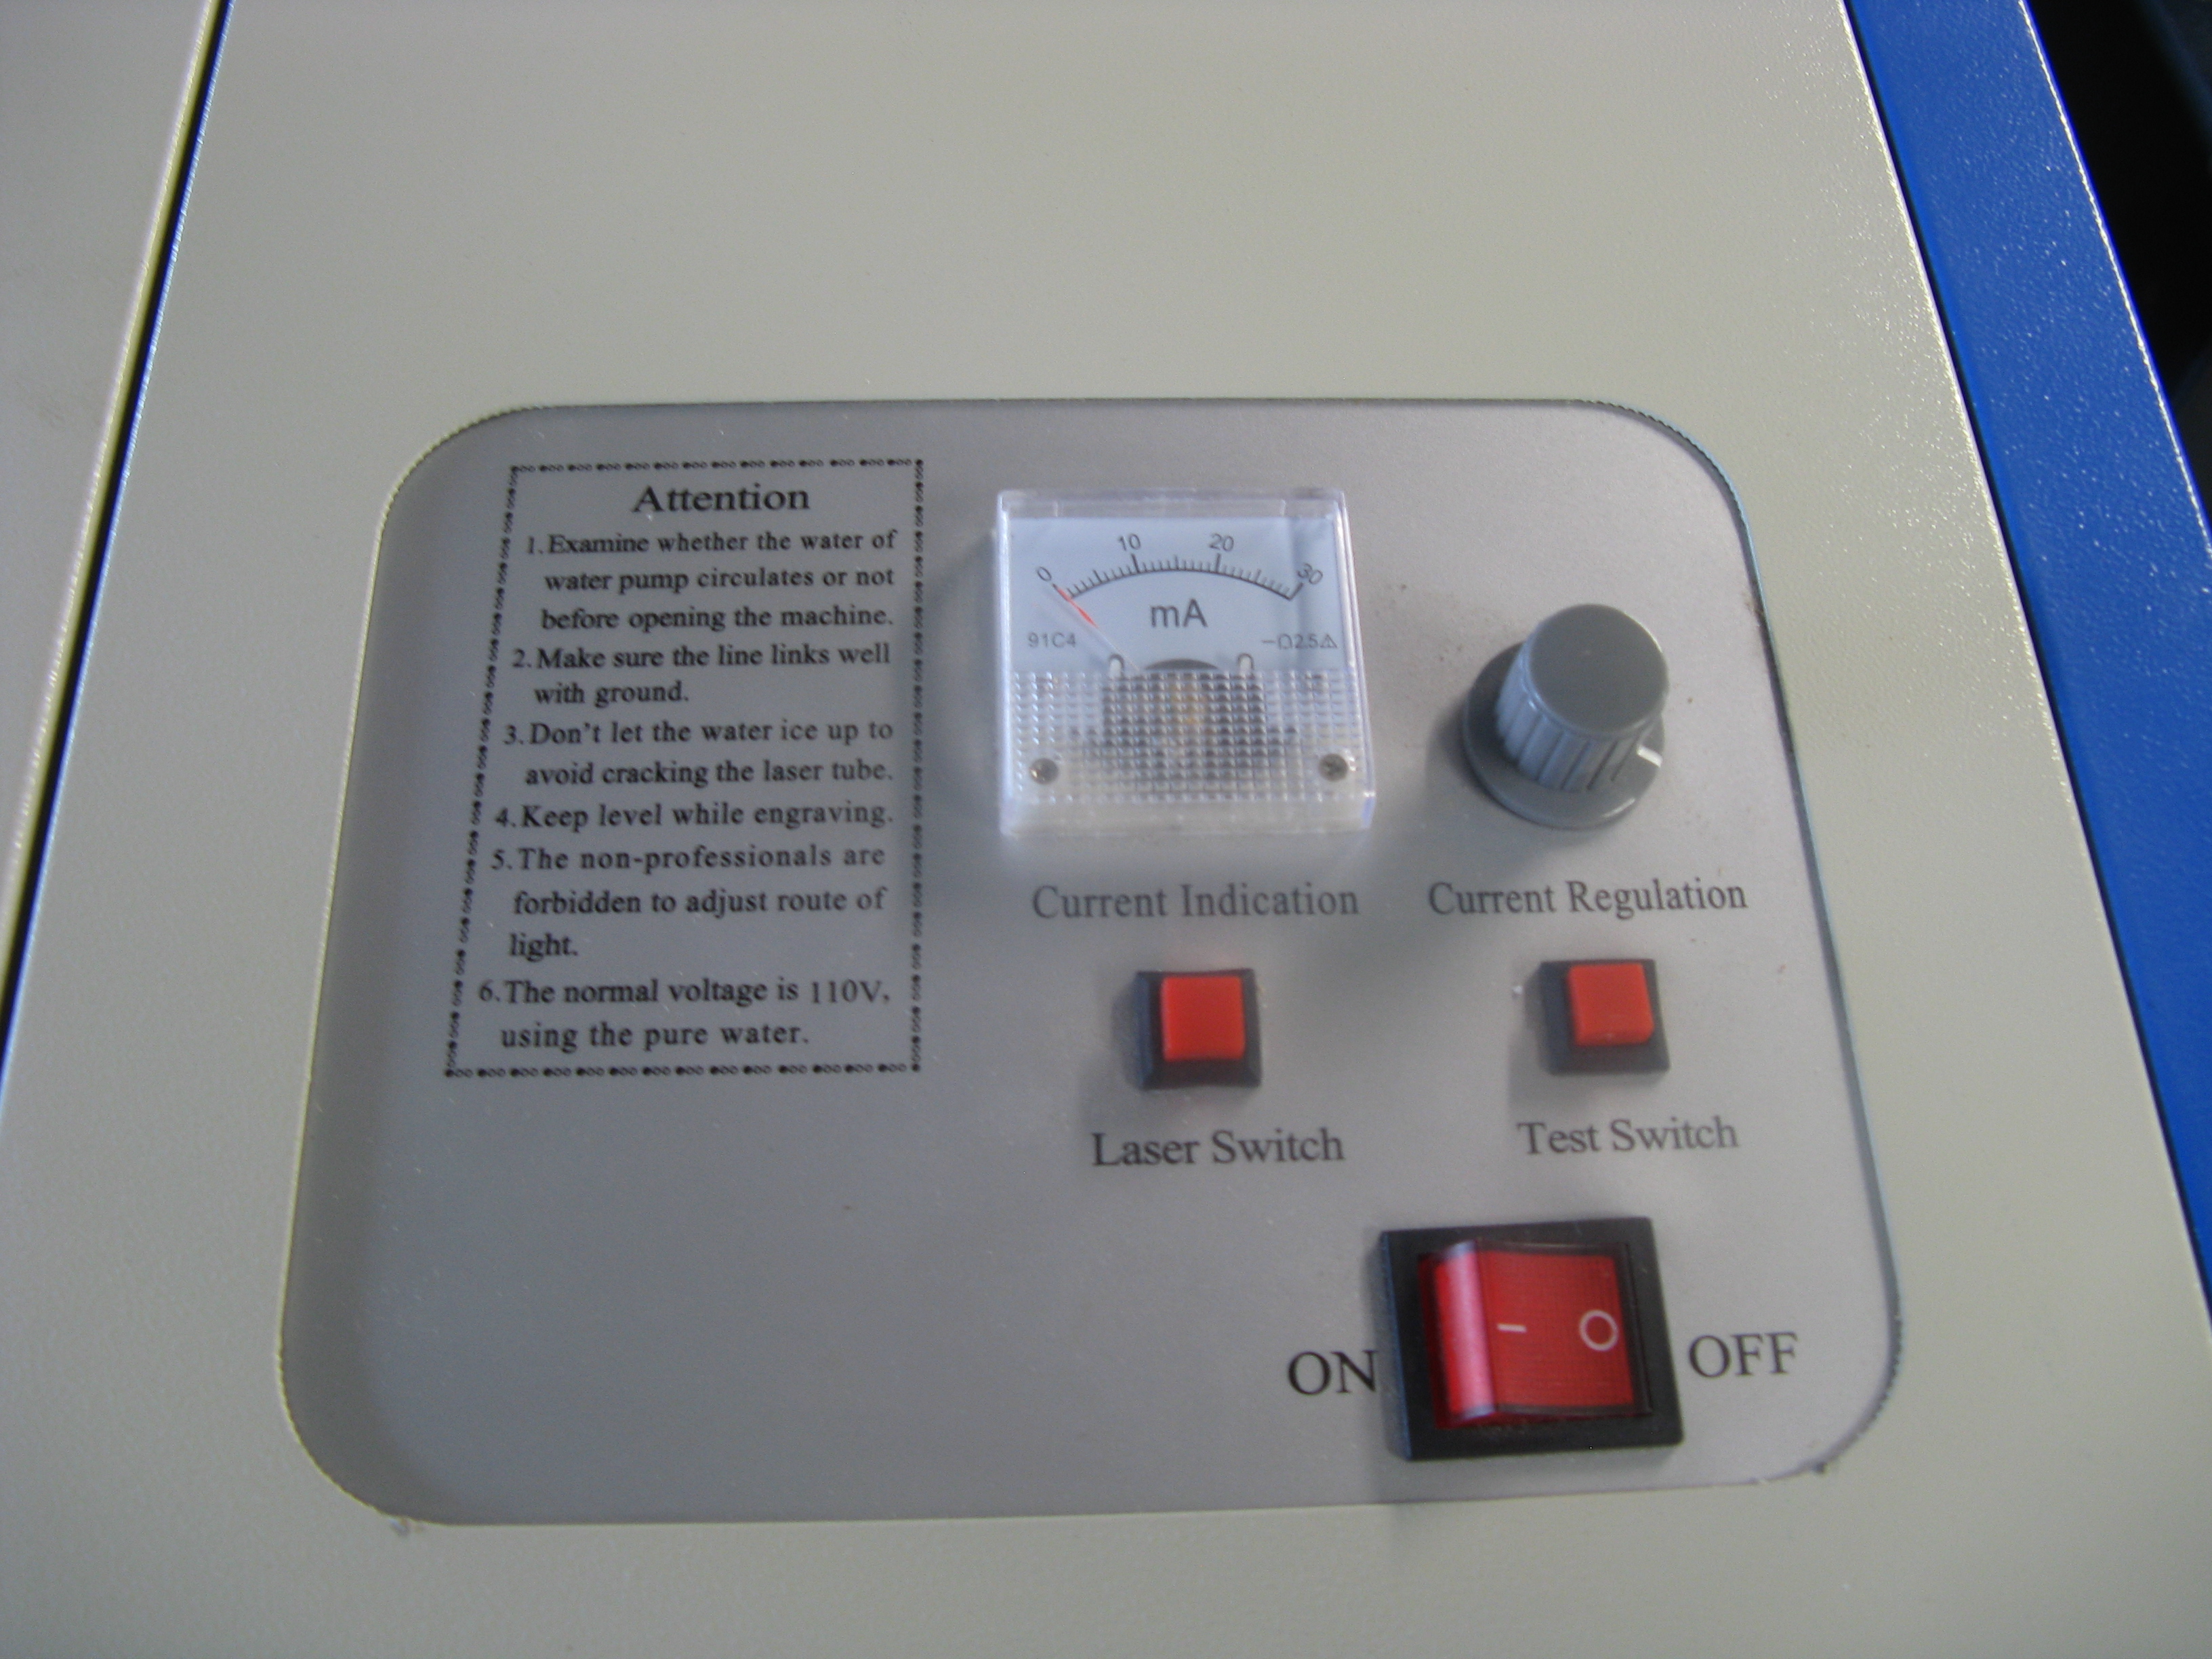
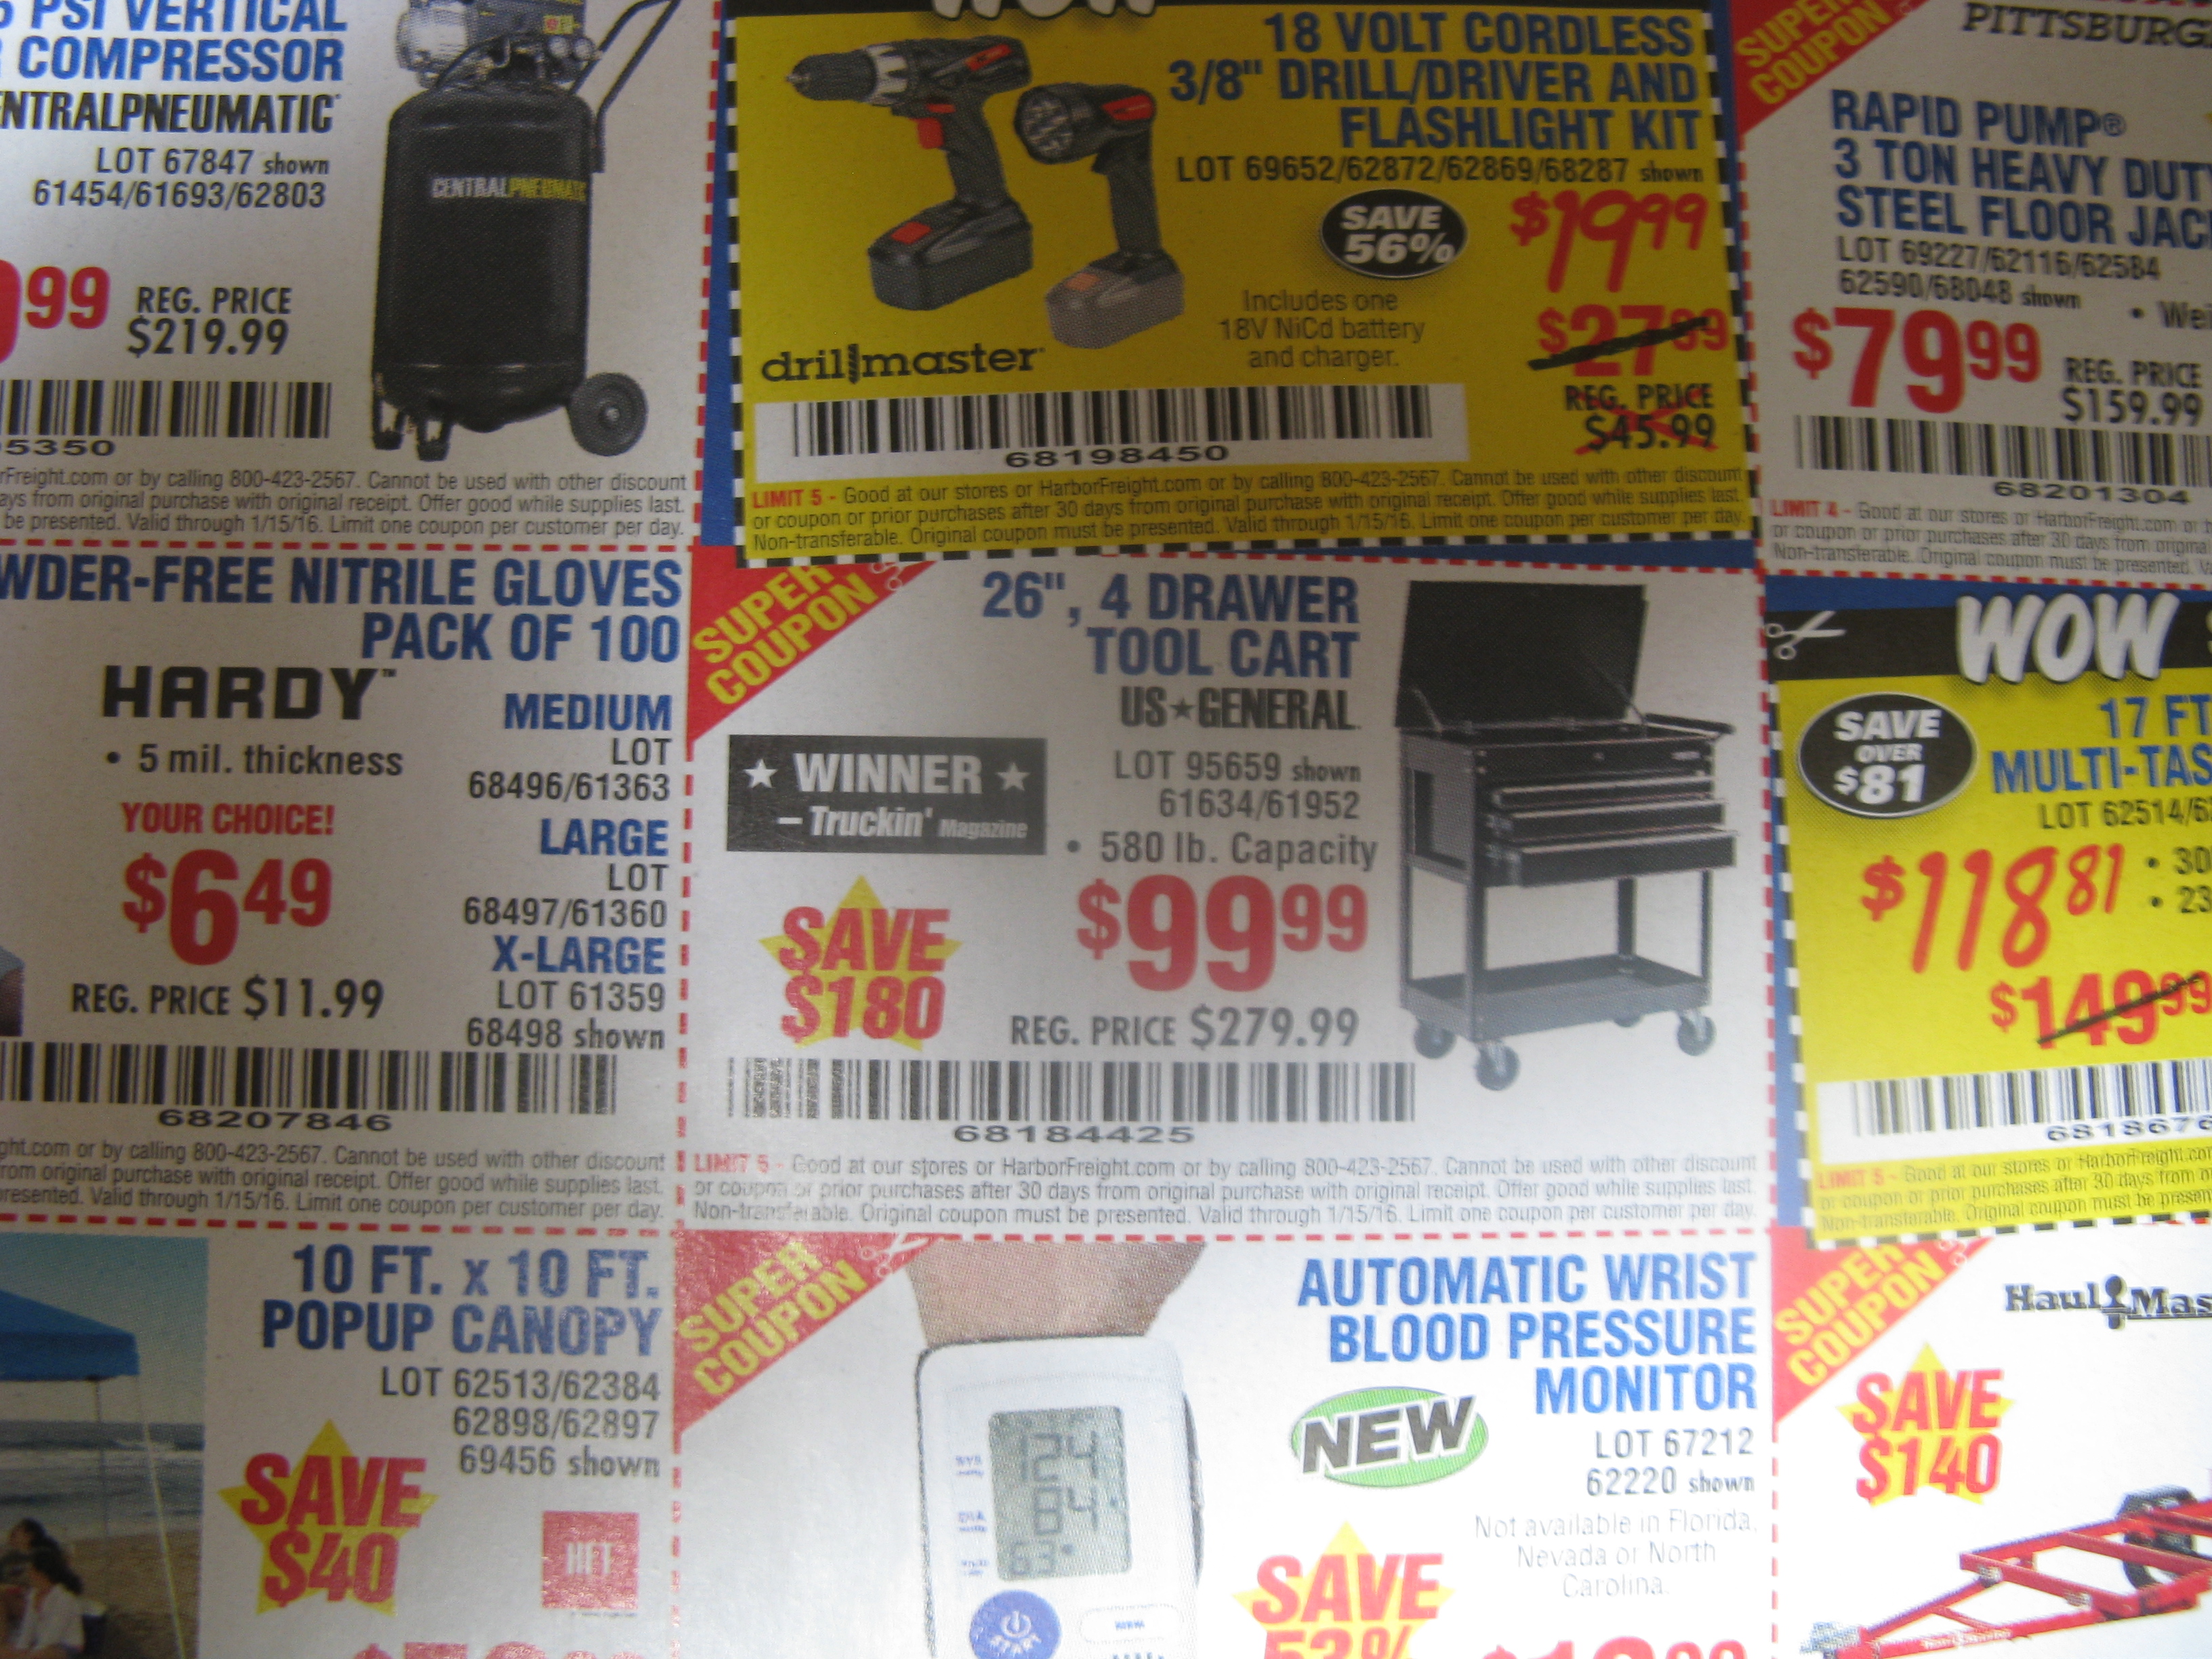
My workshop is setup in one half of a two car garage, a very limited space. I wanted to have the laser cutter setup in a way that would allow me to move it around easily. Ideally all the parts required would be contained to a single movable cart. Instead of building a cart, I chose a Harbor Freight 4 Drawer tool cart and attached a piece of plywood to the top lid. I attached the plywood with screws to keep it secure. The cart has drawers that handle the small tools, the older laptop I use to run the laser cutter, and other items such as user manual. It also has a larger lower shelf where I placed an exhaust filter box, an air brush compressor, and a UPS. I could have placed the cooling water bucket on this shelf. However it is easier to work with, just setting it behind the cart. The cooling lines have disconnects just above the bucket that allow the bucket to be separated from the cutter if needed. The unit is easy to shift about. The power for all components are plugged into a power strip attached to the cart. The most common failure of a laser tube in a hobby setup is turning on power to the tube without the cooling water flowing. The power strip prevents this from happening.
Below are the Harbor Freight listings for the cart and compressor that I am using to provide air assist (an almost required added accessory).
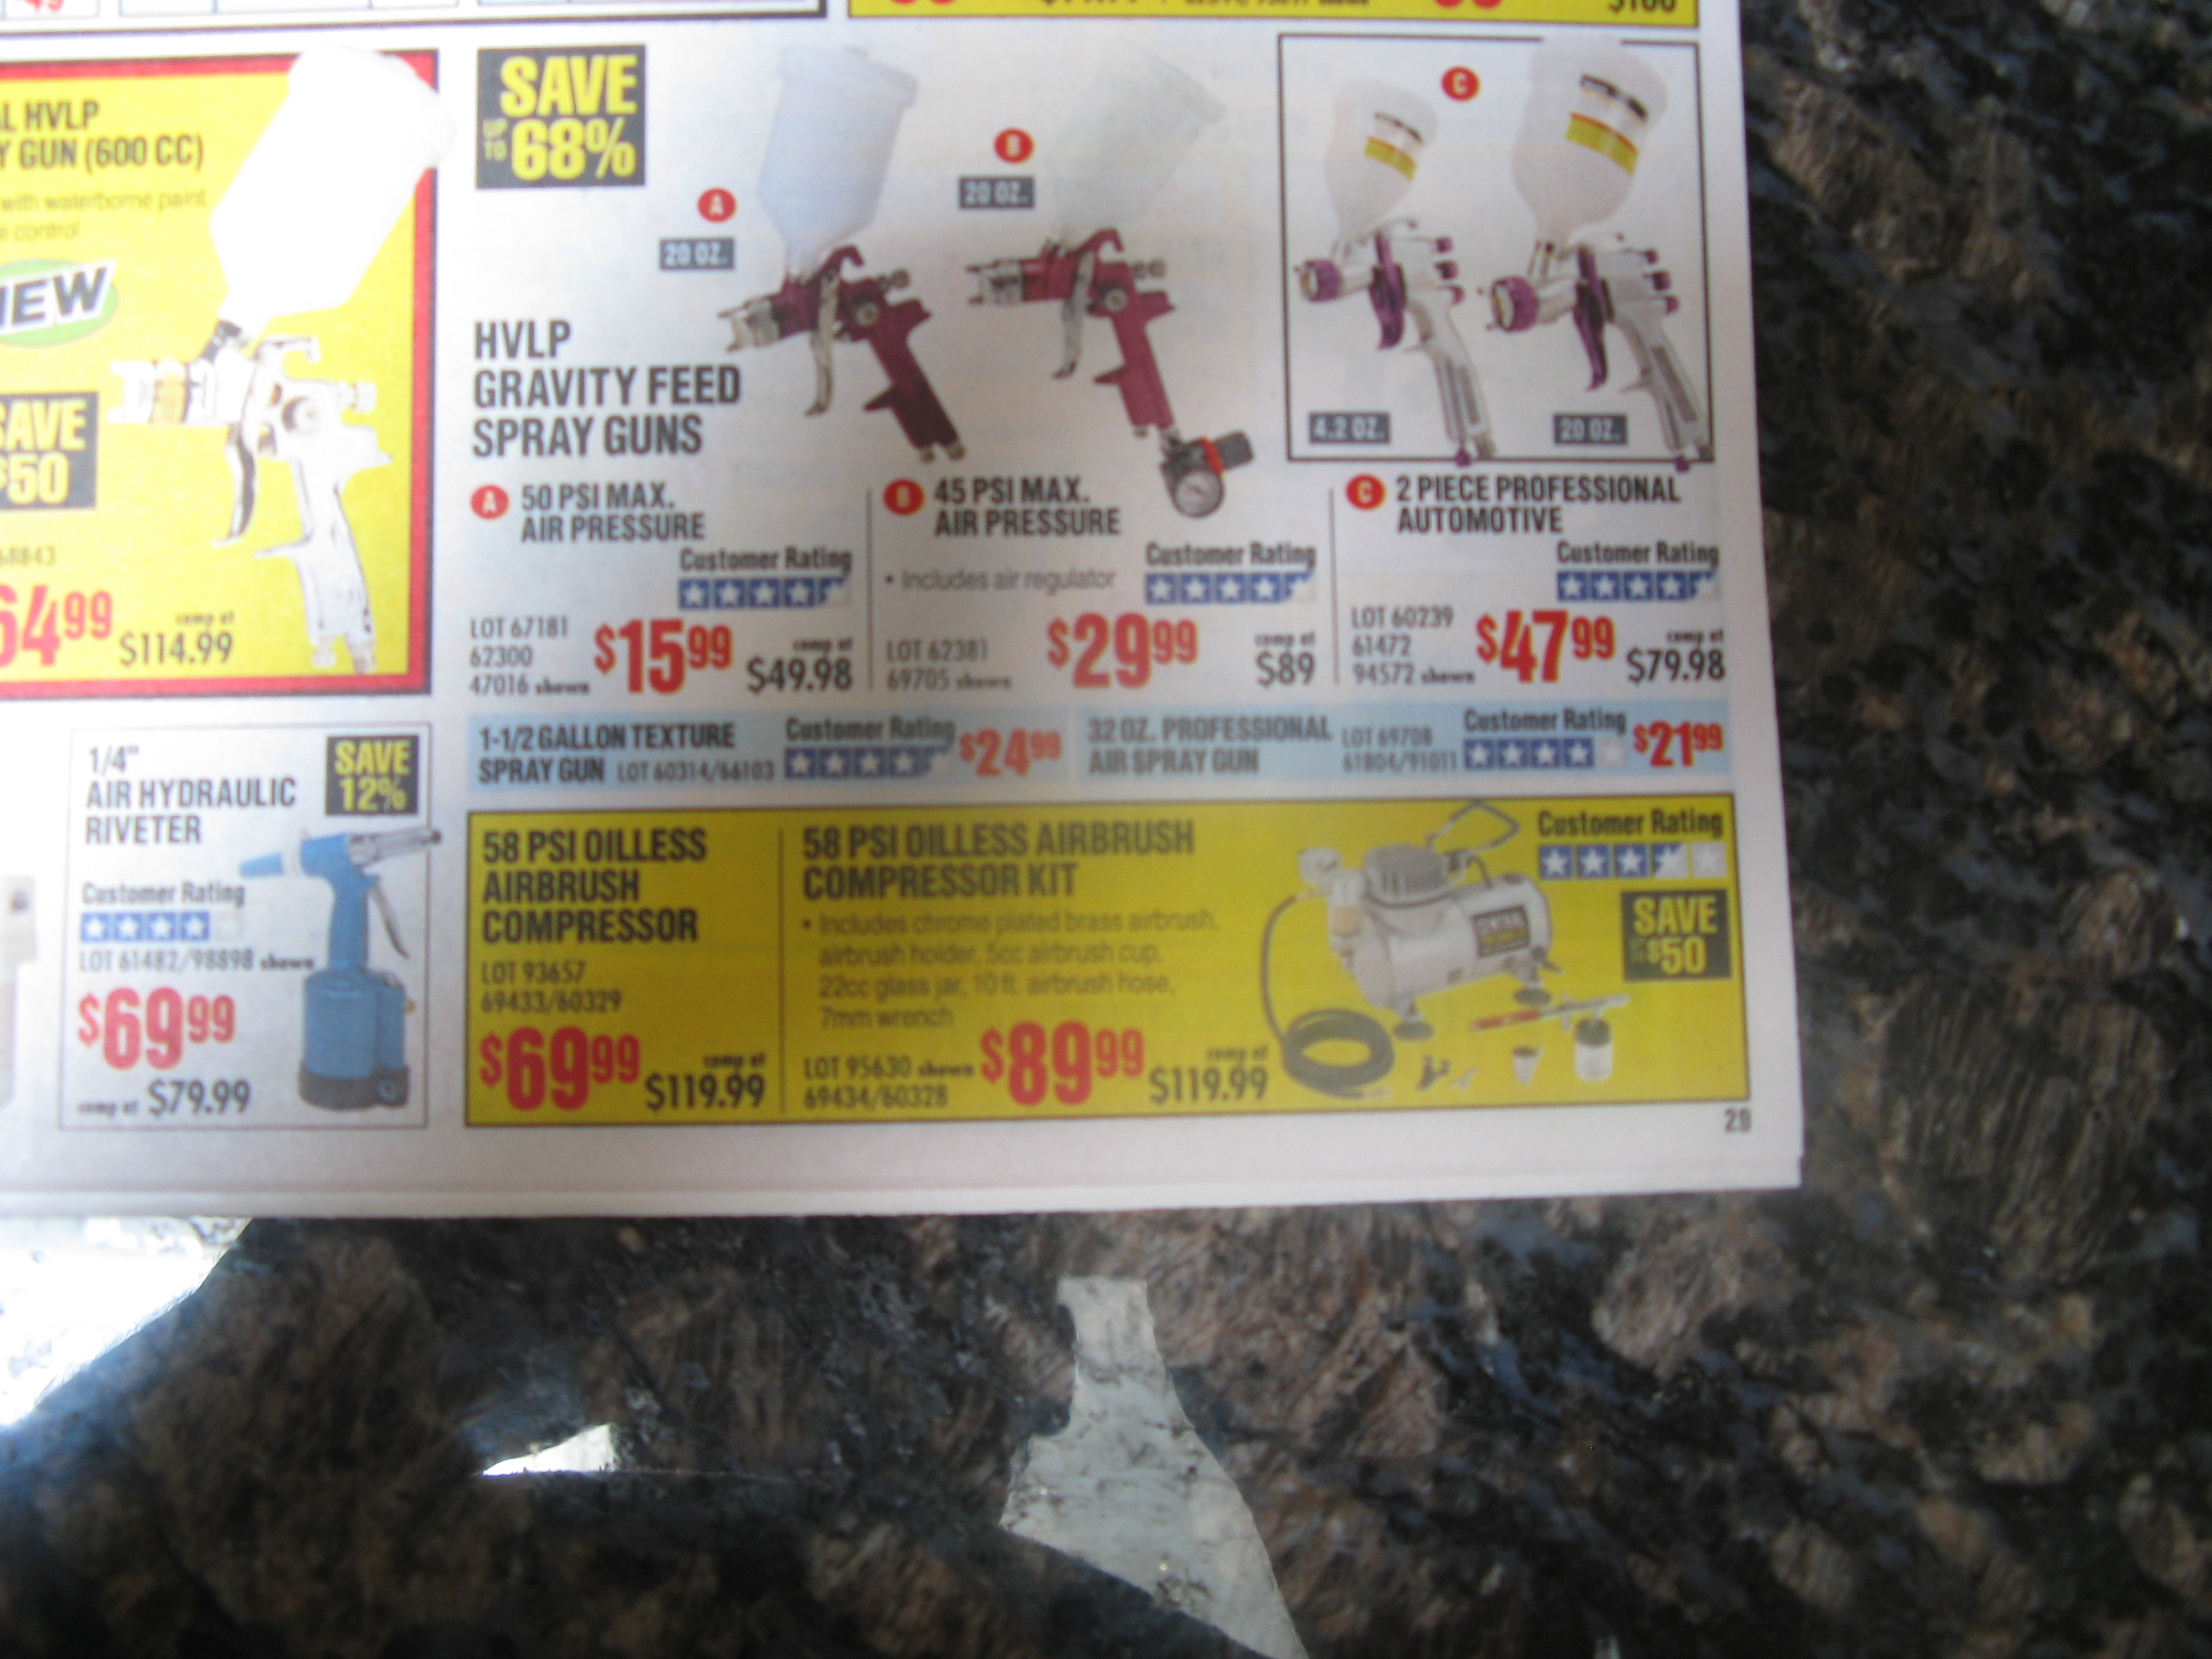
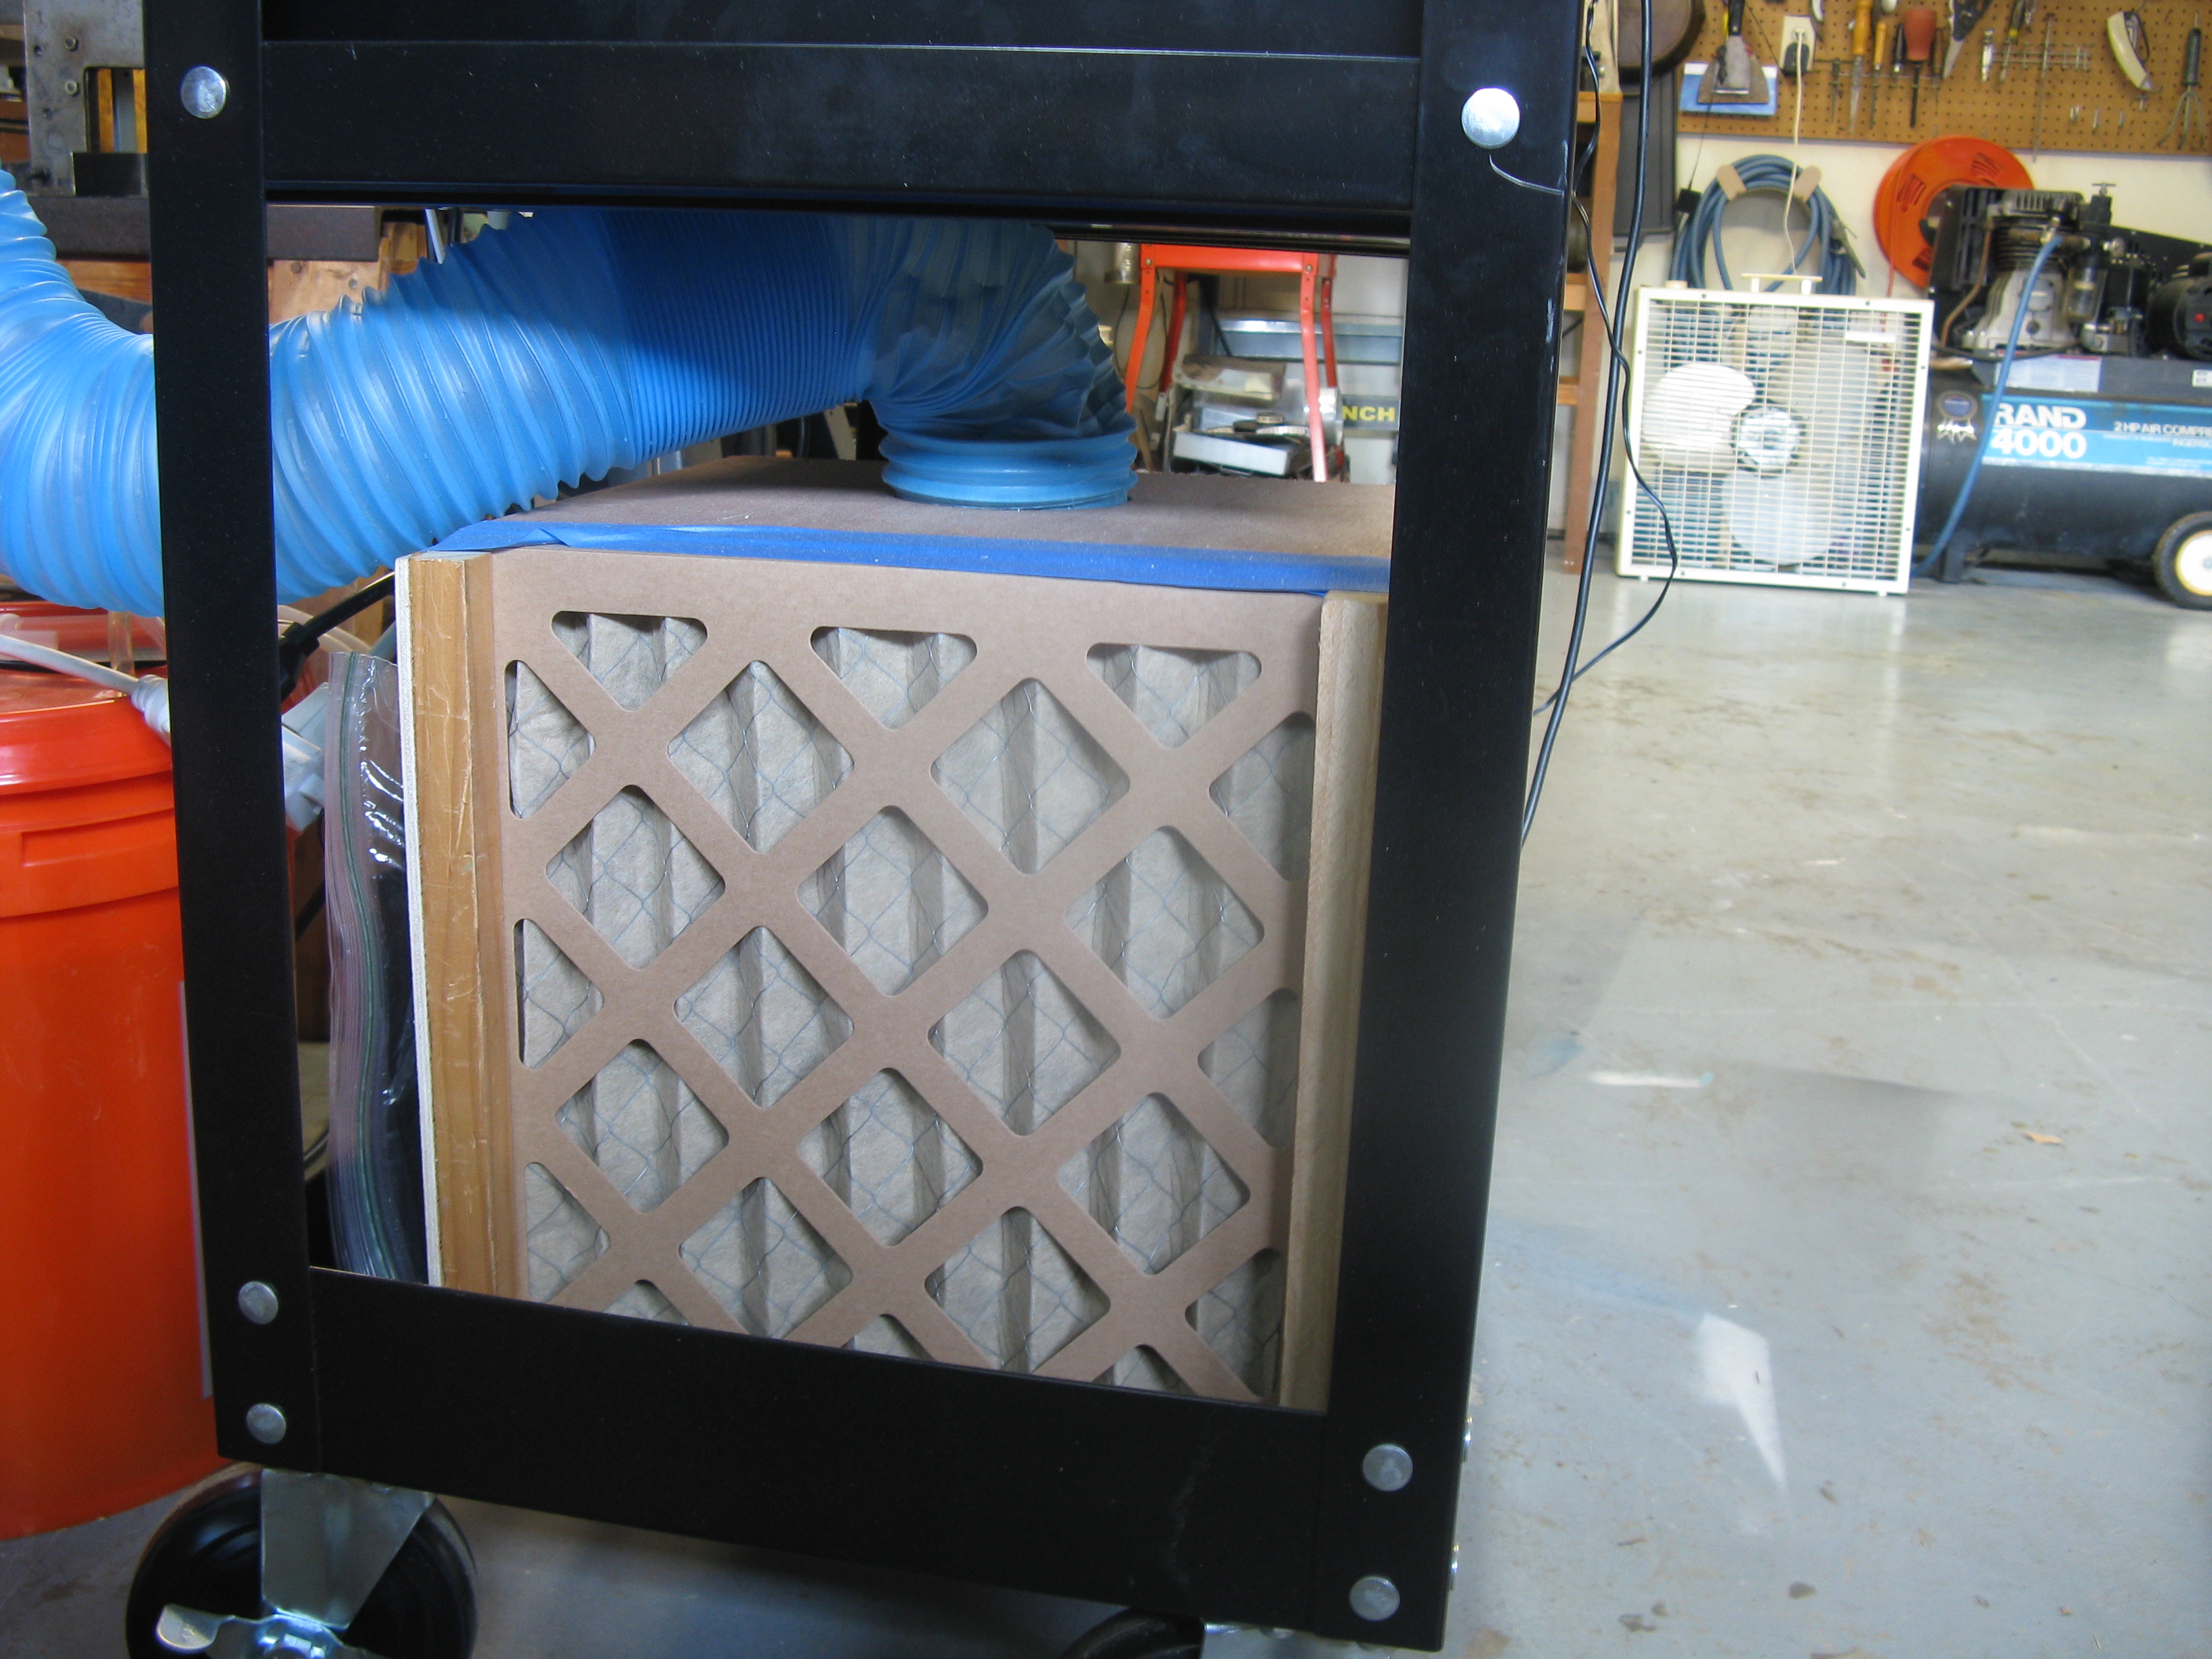
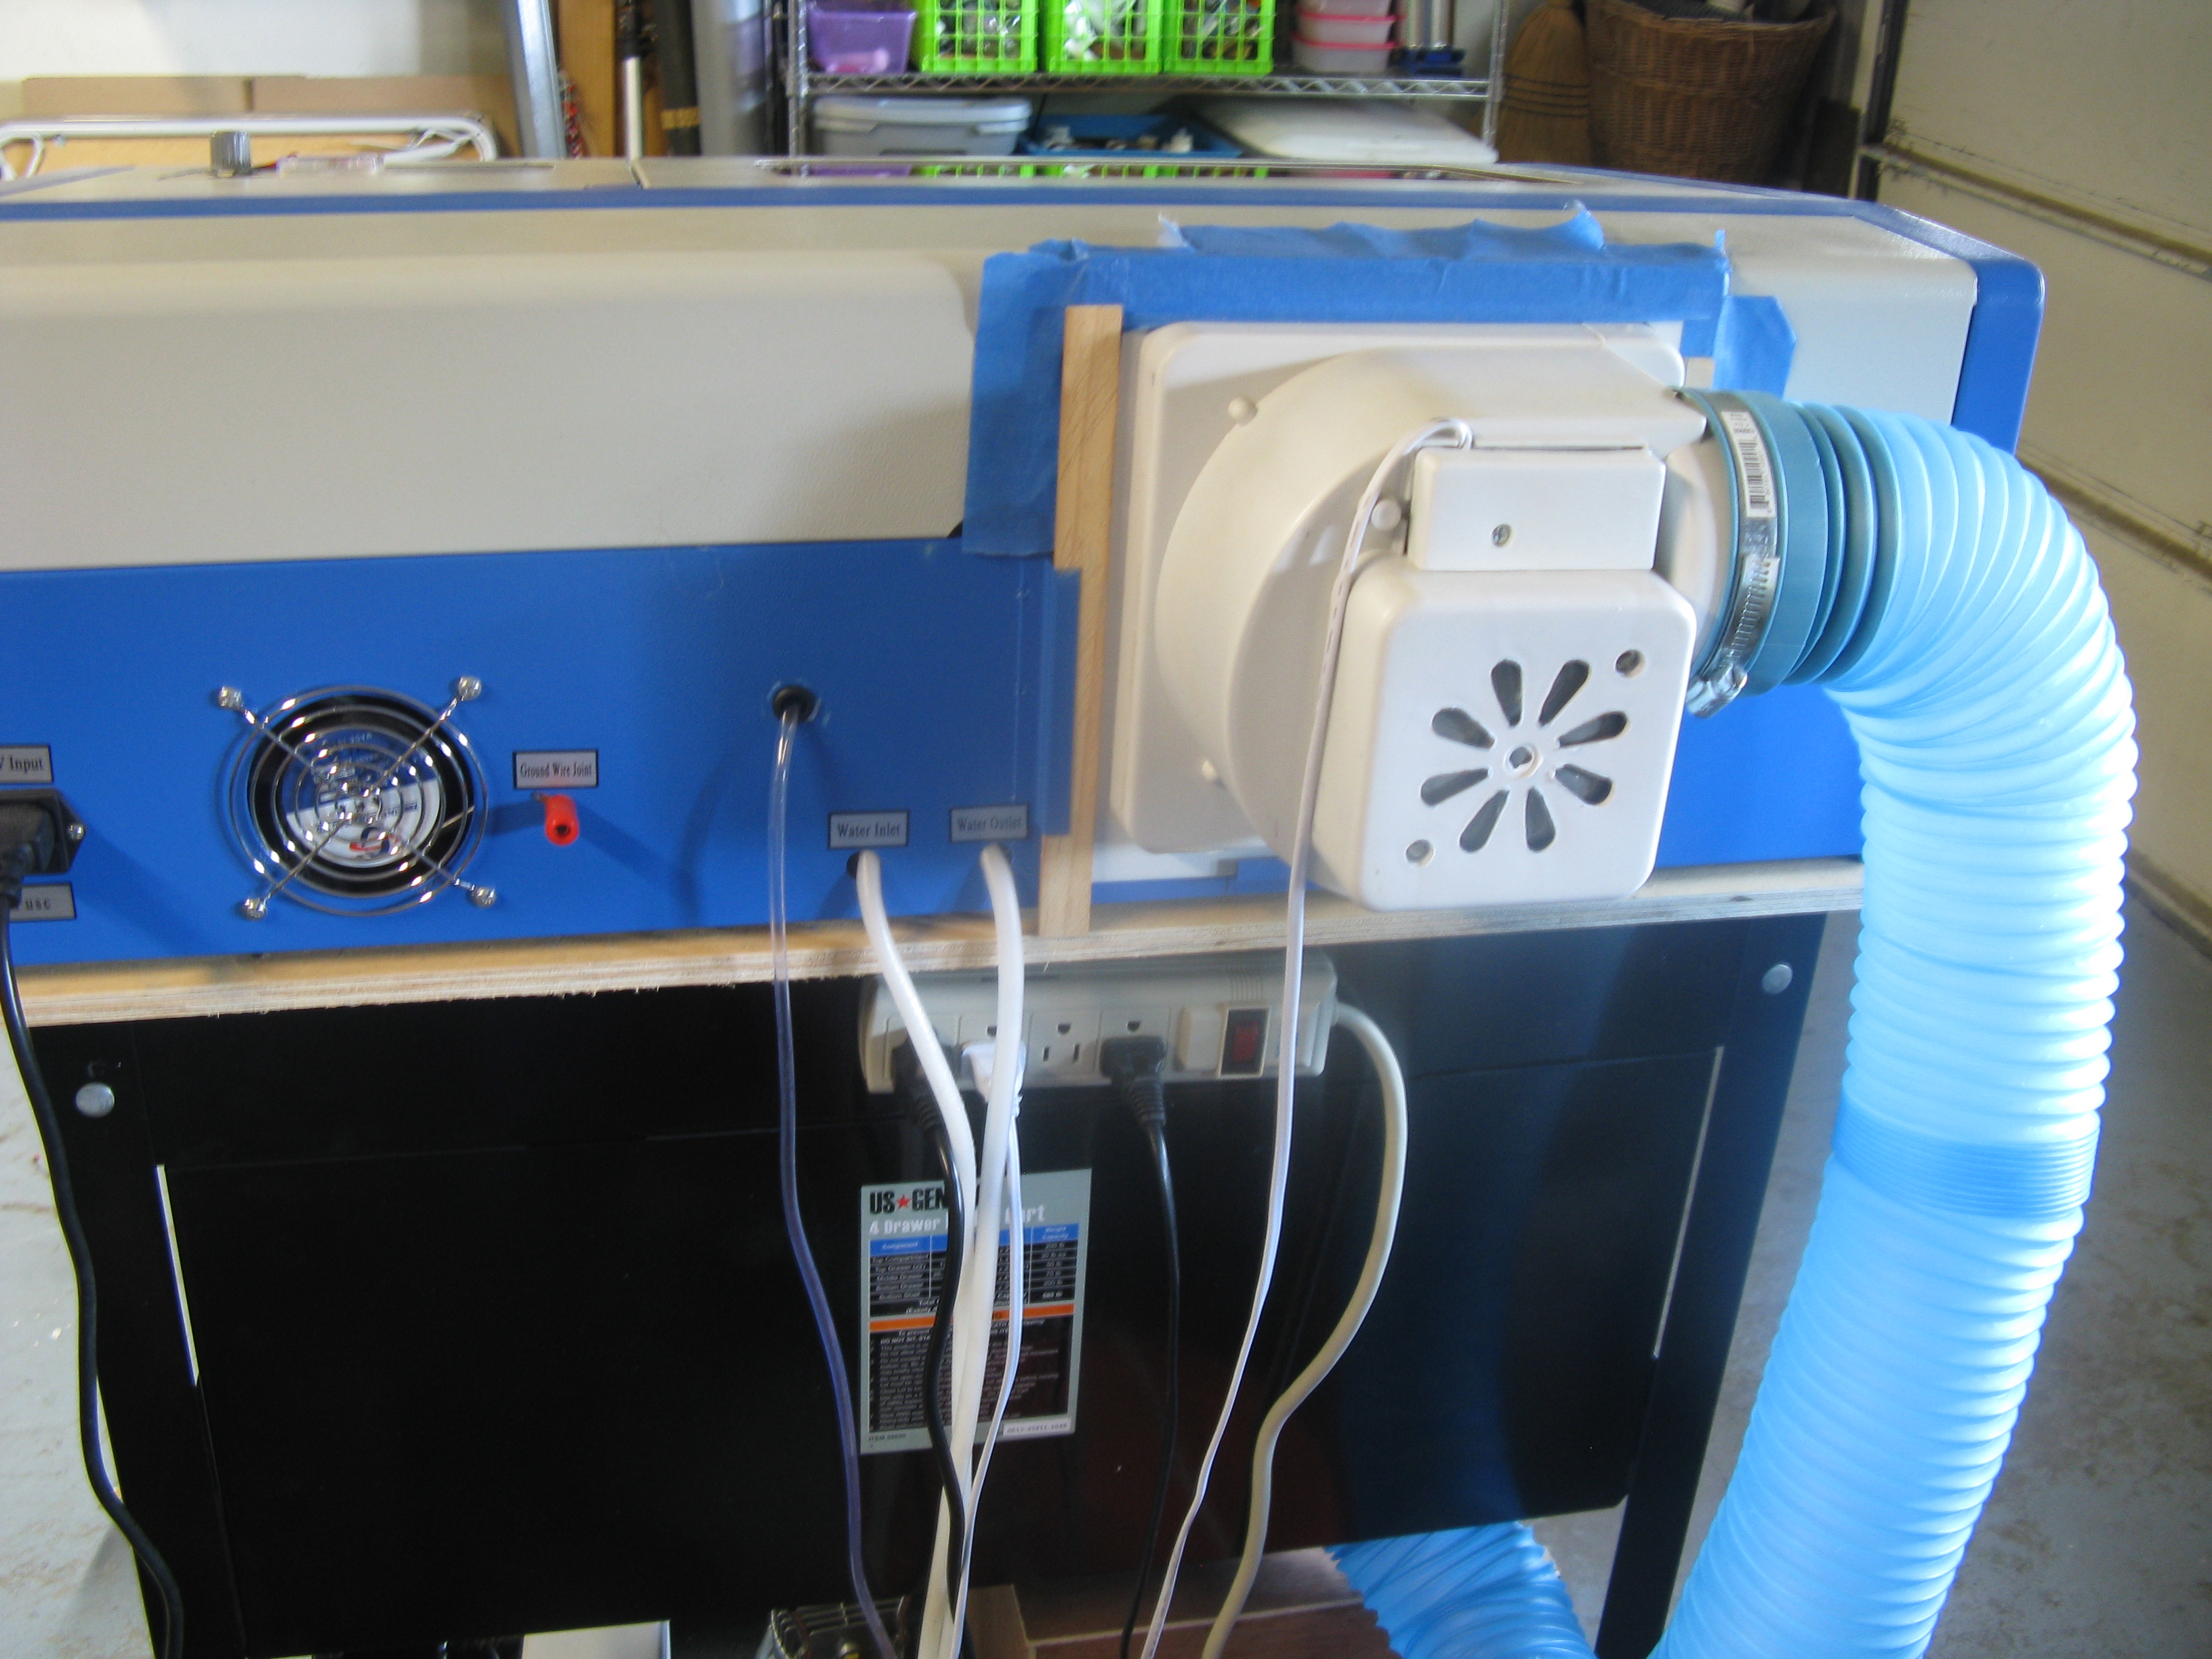
The air assist is provided by a HF air paint compressor, the $69 unit. The more air assist you have, the better your laser will cut without damaging edges or causing fires. It also keeps your optics clean by preventing fumes from reaching your lens. The air paint compressor works “good enough”, however I could see a difference when I provided air assist with my main compressor. I just couldn’t live with the noise. I do not believe that any type of aquarium air pump would be sufficient to provide air assist to the cutter. The nozzle for the air assist is 3D printed, derived from a Thingiverse model. The exhaust is ported into a homemade box that has a port in the top for the hose and an open slot in one side to insert a 12″x12″ furnace filter. Depending on what you want to pay, you can get these filters at Home Depot from standard to HEPA rated. I also bought some activated carbon cloth filter medium to place in the box (covering the filter face) to help with smells.
The tool chain that I use with the laser is a little awkward, since I prefer to use Inkscape over Corel Draw. I layout my patterns in Inkscape, and export the file as an .SVG with the export resolution set to 72 dpi instead of the default 90 dpi. I then import the file into Corel Draw 12, and use Moshi Laser to control the laser cutter. Both Corel Draw 12 and Moshi Laser (as well as Moshi Draw) come with the laser. There have been two software updates since I bought my laser by the Chinese publishers of Moshi Draw and Moshi Laser. Each verson has solved some weirdness, but introduced new strangeness. I continue to use the version sent with the laser, and just work around the odd. The software is definitely the weakness of this particular laser cutter package. If you only want to cut and not engrave, the controller can easily be replaced with a RAMPS 1.4 board and modified Martin software. There are other more expensive options, but as these laser cutters become more common, I think the open source solutions will become better.
Here are some pictures of my setup. I keep the laptop and its mouse and power supply in one of the drawers. It isn’t shown in the pictures.